
I quite enjoyed my recent foray into setting up an example Azure Firewall, so he's a sequel! 🙃
As before, the post will be screenshot heavy but not all screenshots, the plan is to deploy a vulnerable web application behind the WAF in blocking mode so we can see basic exploits being blocked.
Step 1 - Planning
Here's a basic picture of what we want to achieve...
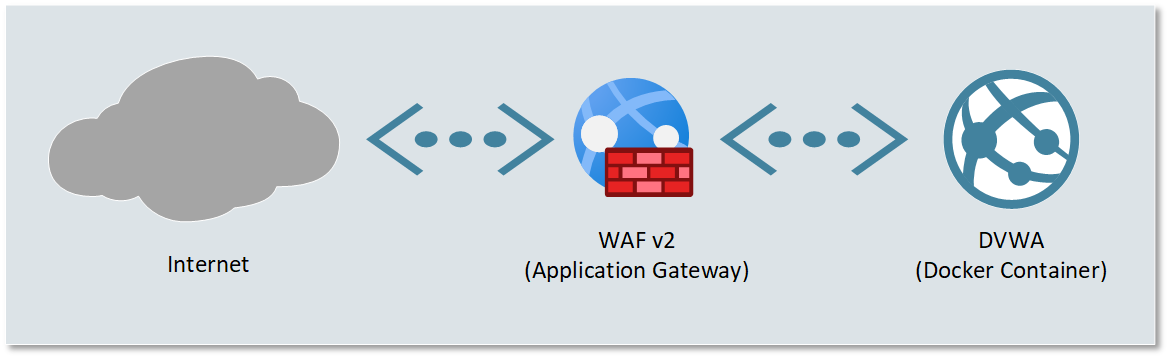
For the Web Server, we're going to run Damn Vulnerable Web Application (DVWA) in an Azure Container Instance.
Everything will be deployed into a single resource group to make cleanup/delete easier at the end.
Naming Convention
Here's a gotcha for Naming Conventions, in my last post I used hyphens, but container instances not allow that, so I'll have to plan a new way.
I still want to follow the region followed by a primary identifier approach...
uksrgwaf → Resource Group
ukswaf1 → Azure Web Application Firewall
uksweb1 → 1st Web Server (Docker DVWA)
uksvnetwaf1 → WAF Network
Something like that should do the trick!
Networking
Two networks will be needed, one for the Security Gateway and one for the Docker Web App, we'll then peer them together.... if you want to by-pass the WAF and access the App directly, plan yourself a 3rd network for a Virtual Windows box.
- uksvnetwaf1 → 172.16.1.0/24
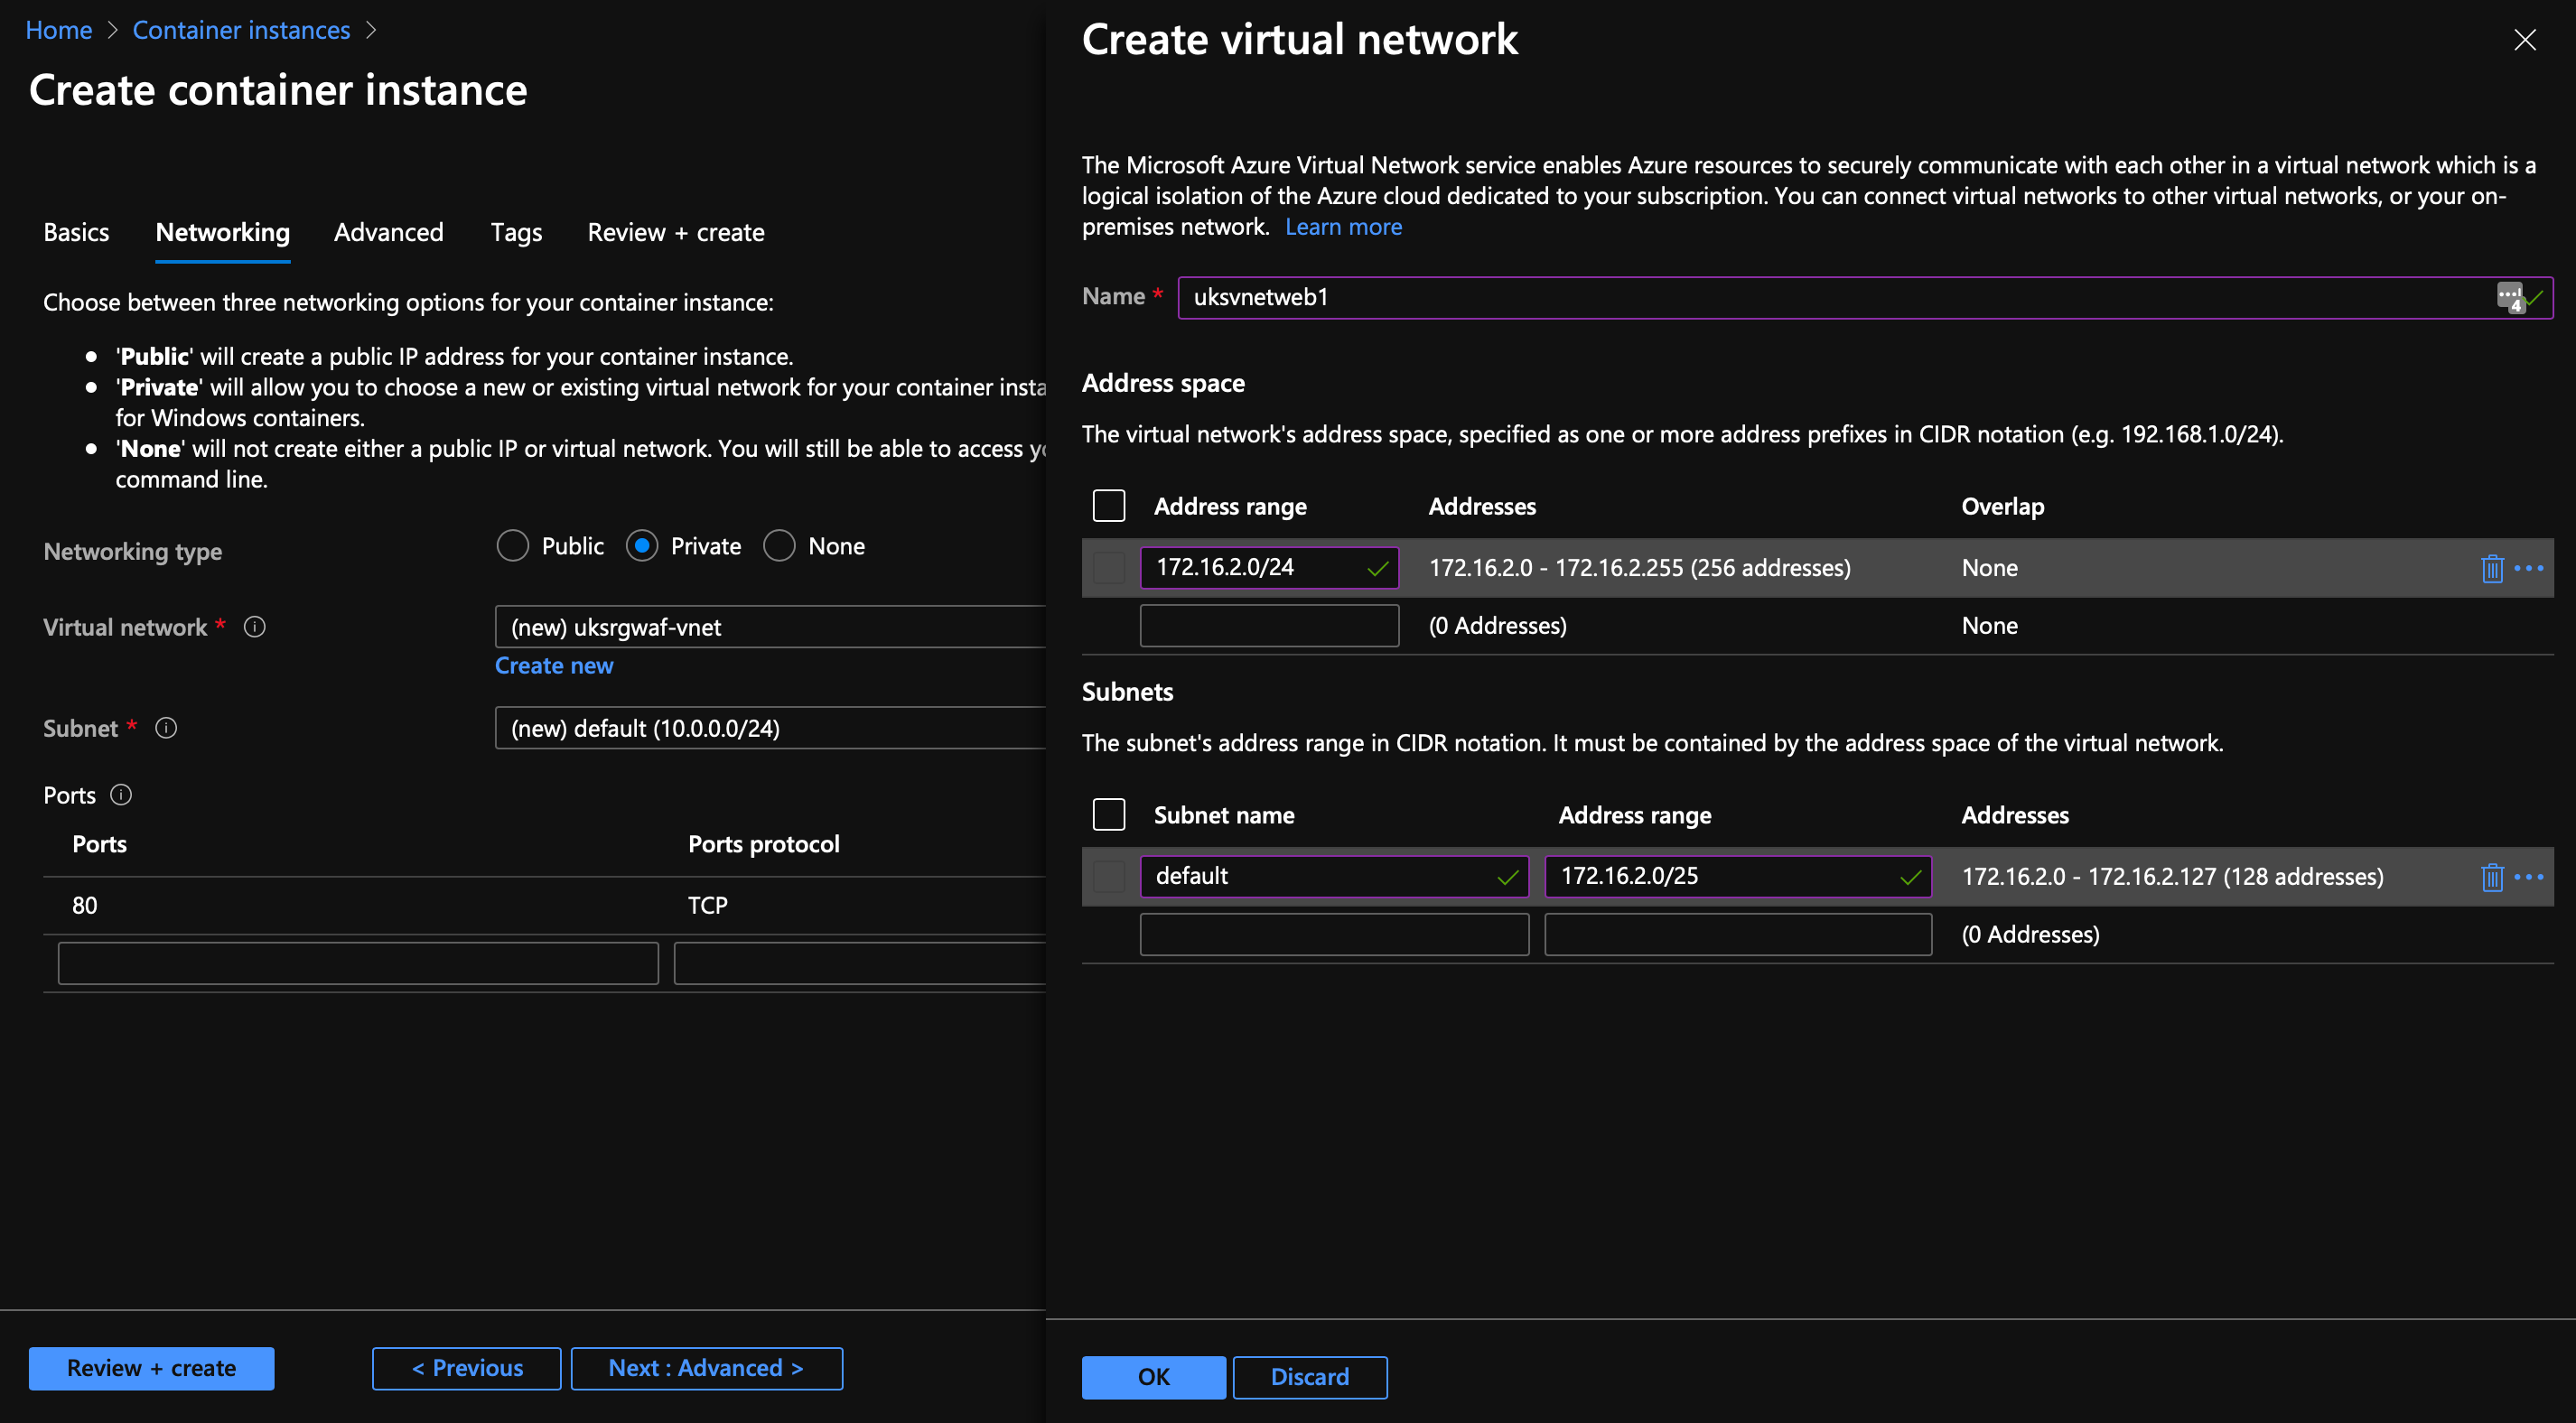
- uksvnetweb1 → 172.16.2.0/24
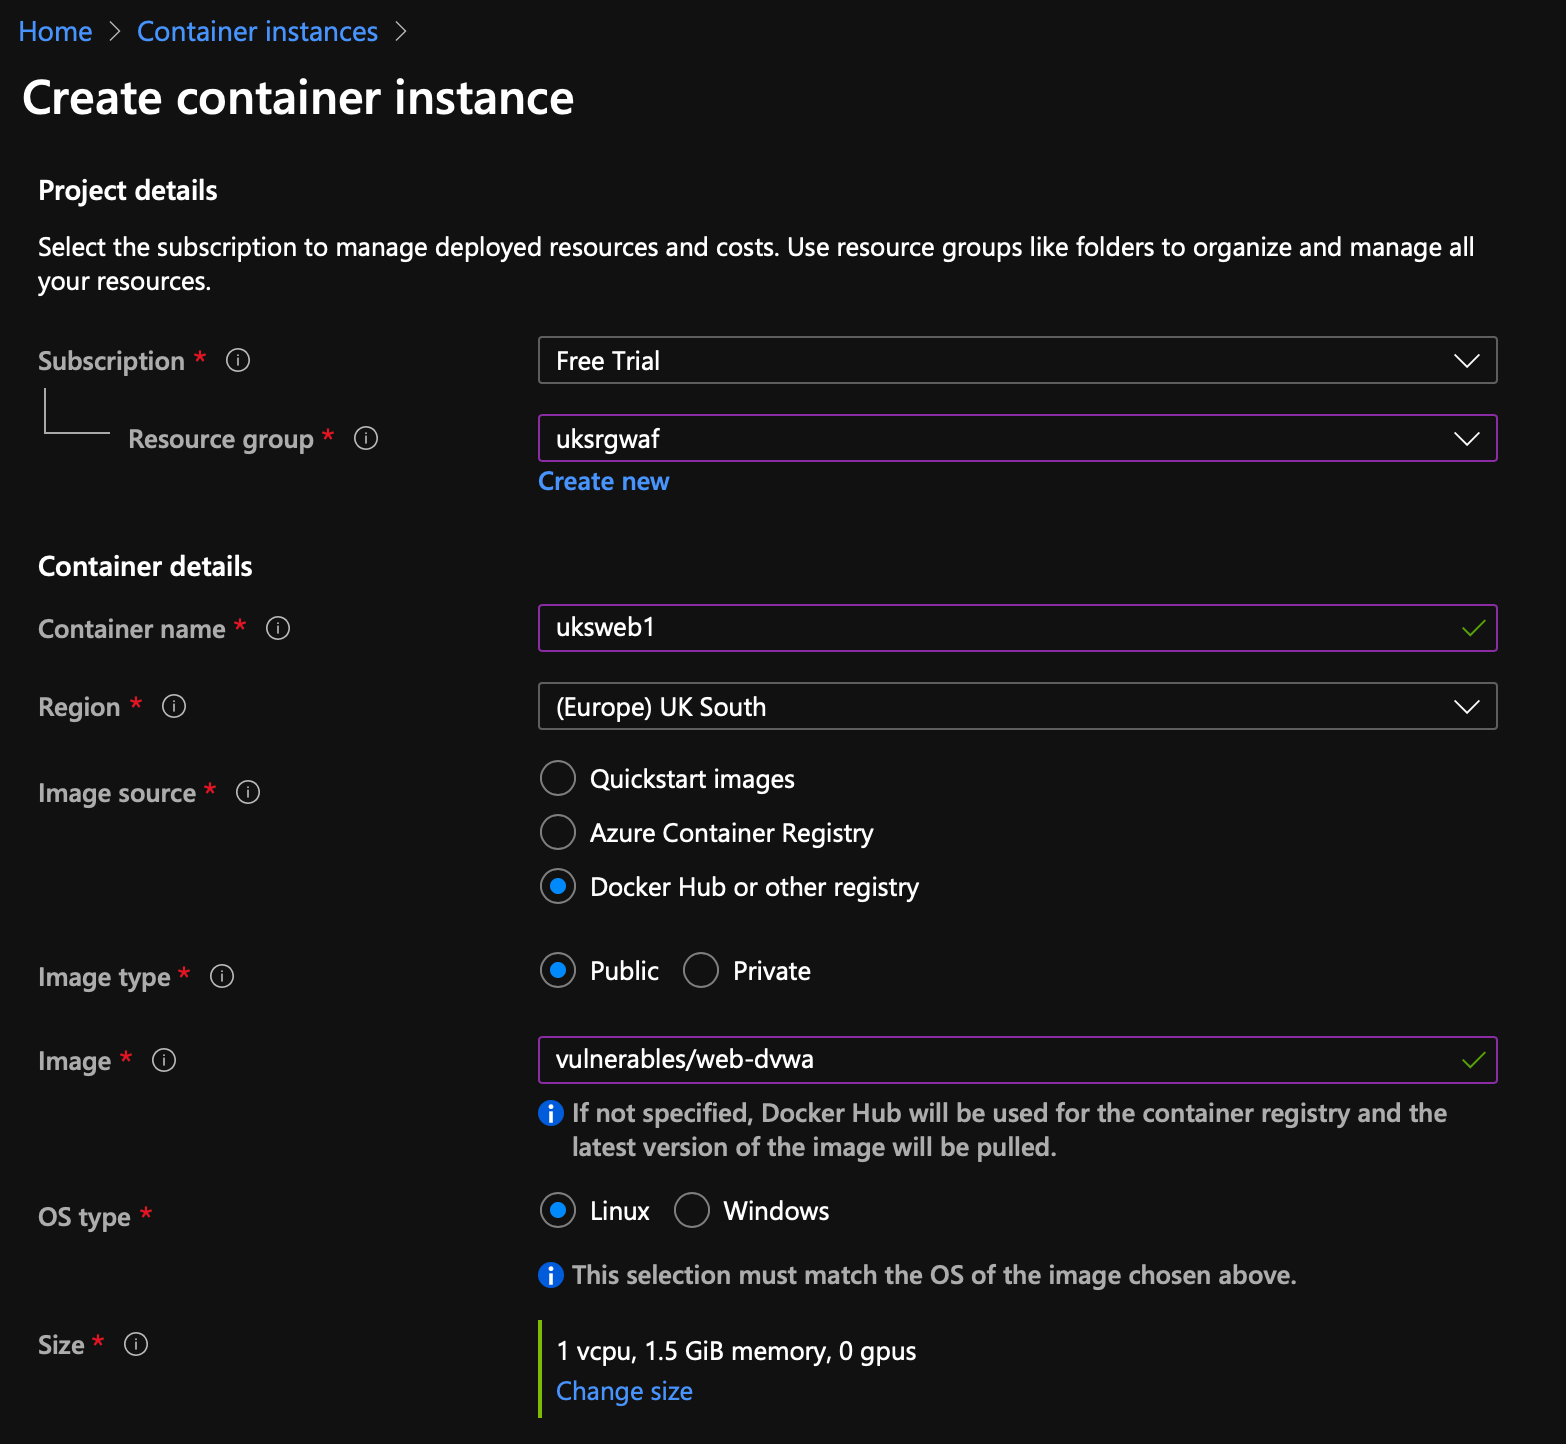
Step 2 - Create a Container Instance
The build takes a little while, so kick that off first.
We're going to pull an image vulnerables/web-dvwa from the public docker hub based on linux.
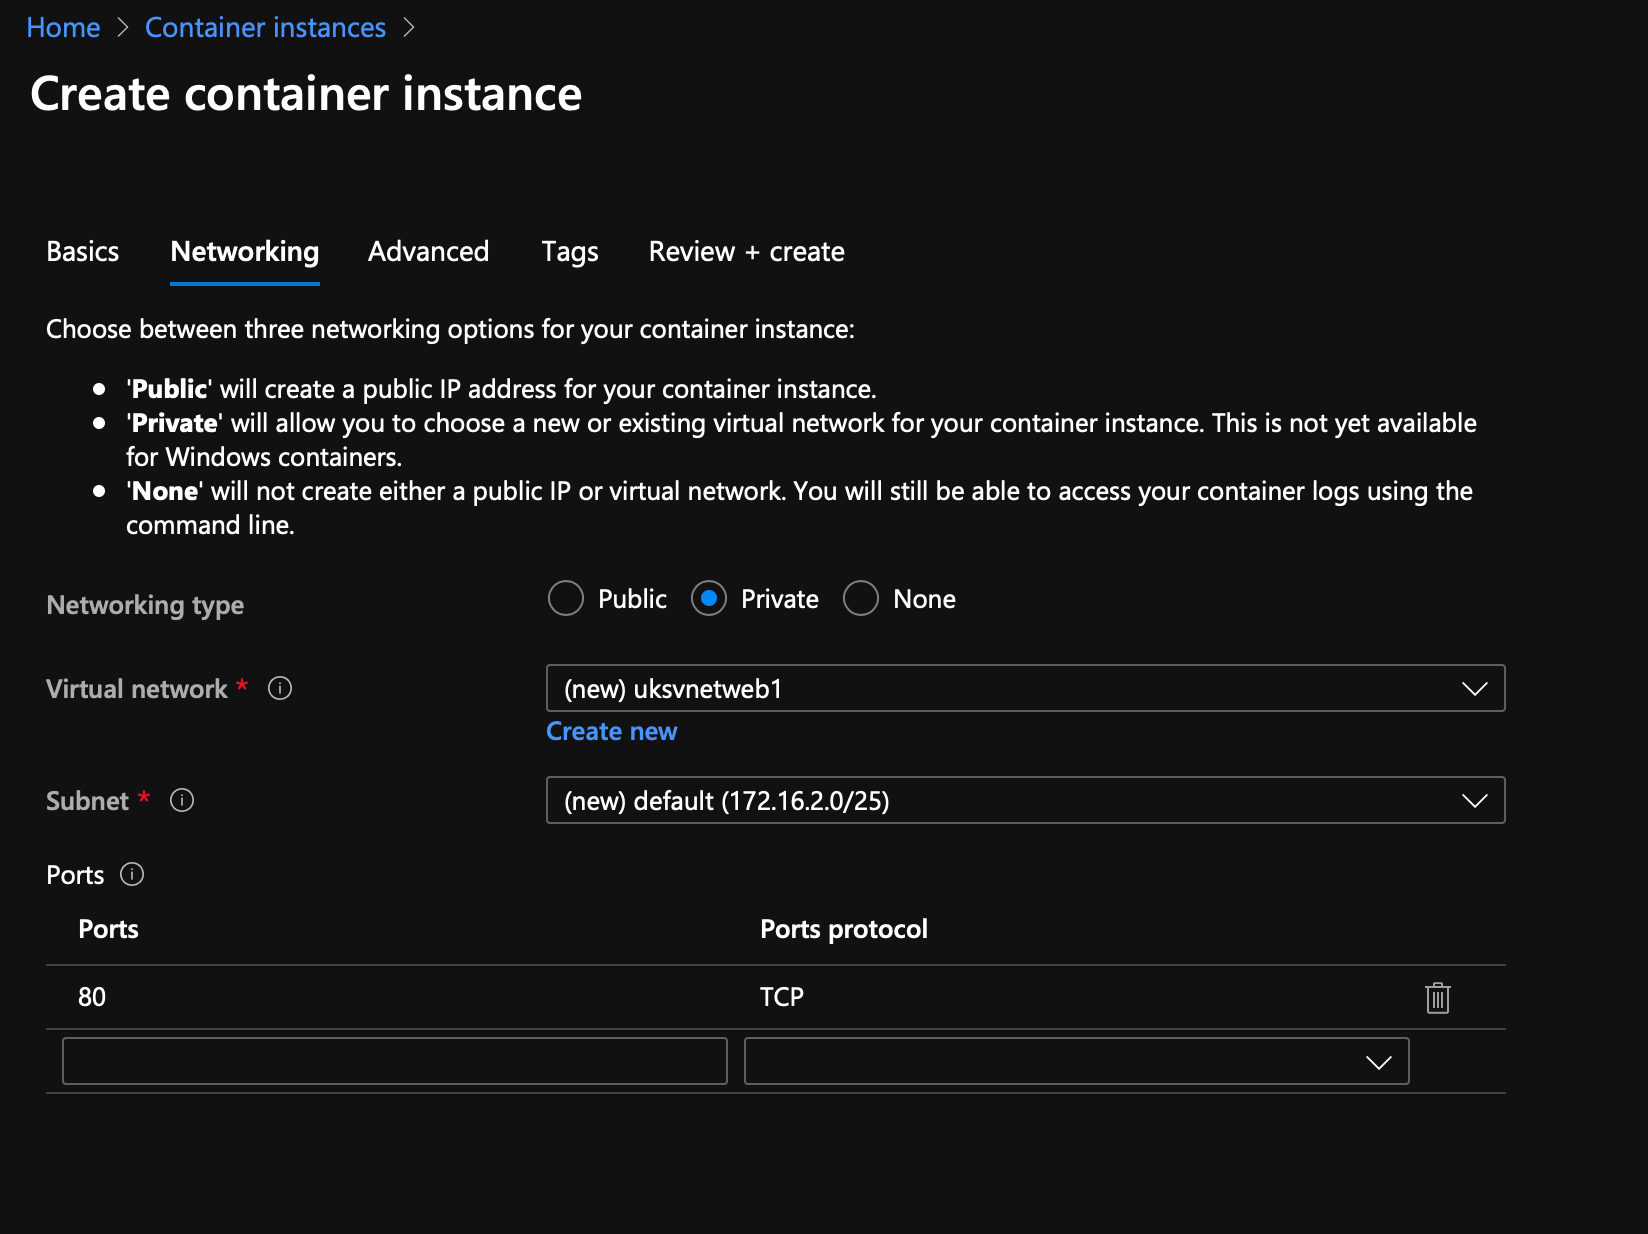
We want the networking type to be Private as we're protecting this behind the WAF; I'm going to create a new vNet to meet my planning above, you are welcome to accept the defaults if you like.
Make no changes to Advanced Settings, skip the tags and hit create.
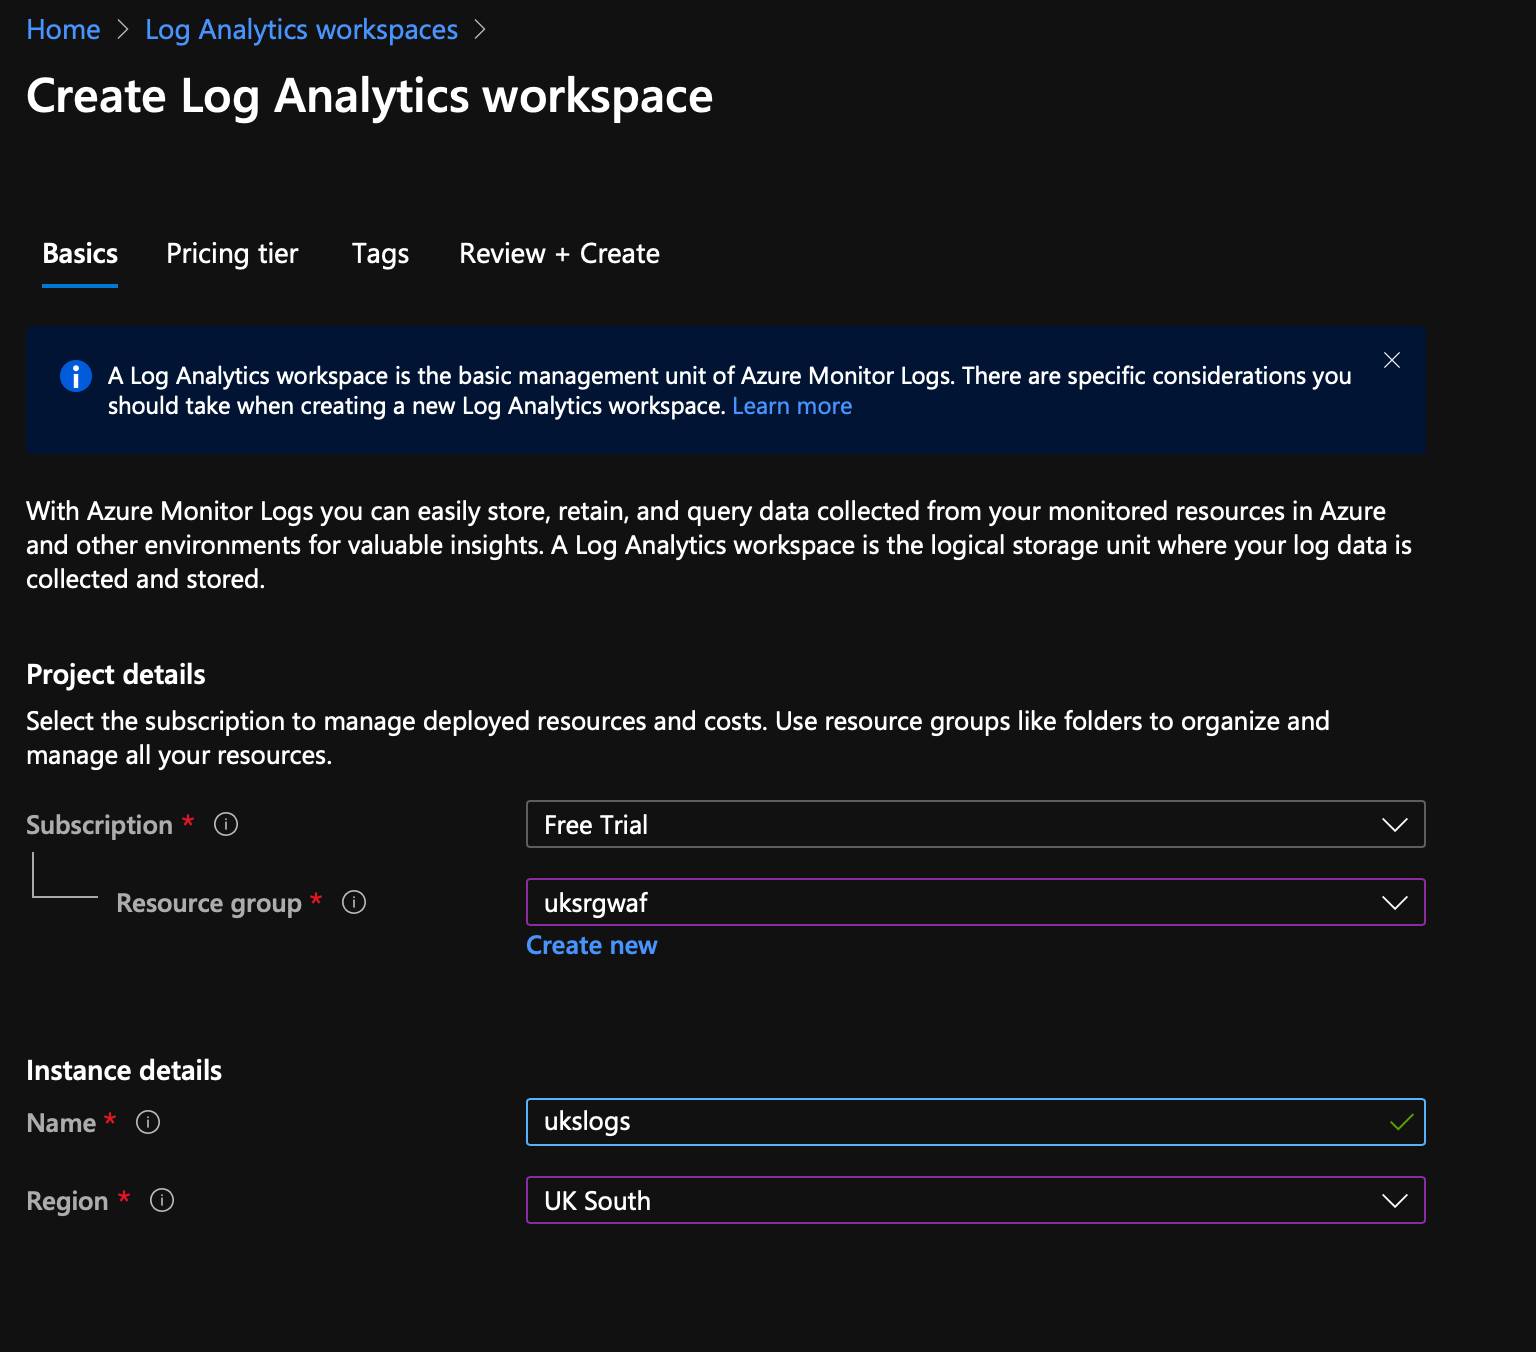
Step 3 - Create Log Analytics workspace
If you don't have one already, you need somewhere to send the logs...
Step 4 - Create the WAF... well actually the Application Gateway.
So here's the thing, the WAF is part of the Azure Application Gateway product, which is actually a load balancer... so we're going to setup a basic load balancer and then enable the WAF functionaility. Of course we've only deployed "1x Web Server" (docker container instance) but you get the gist!
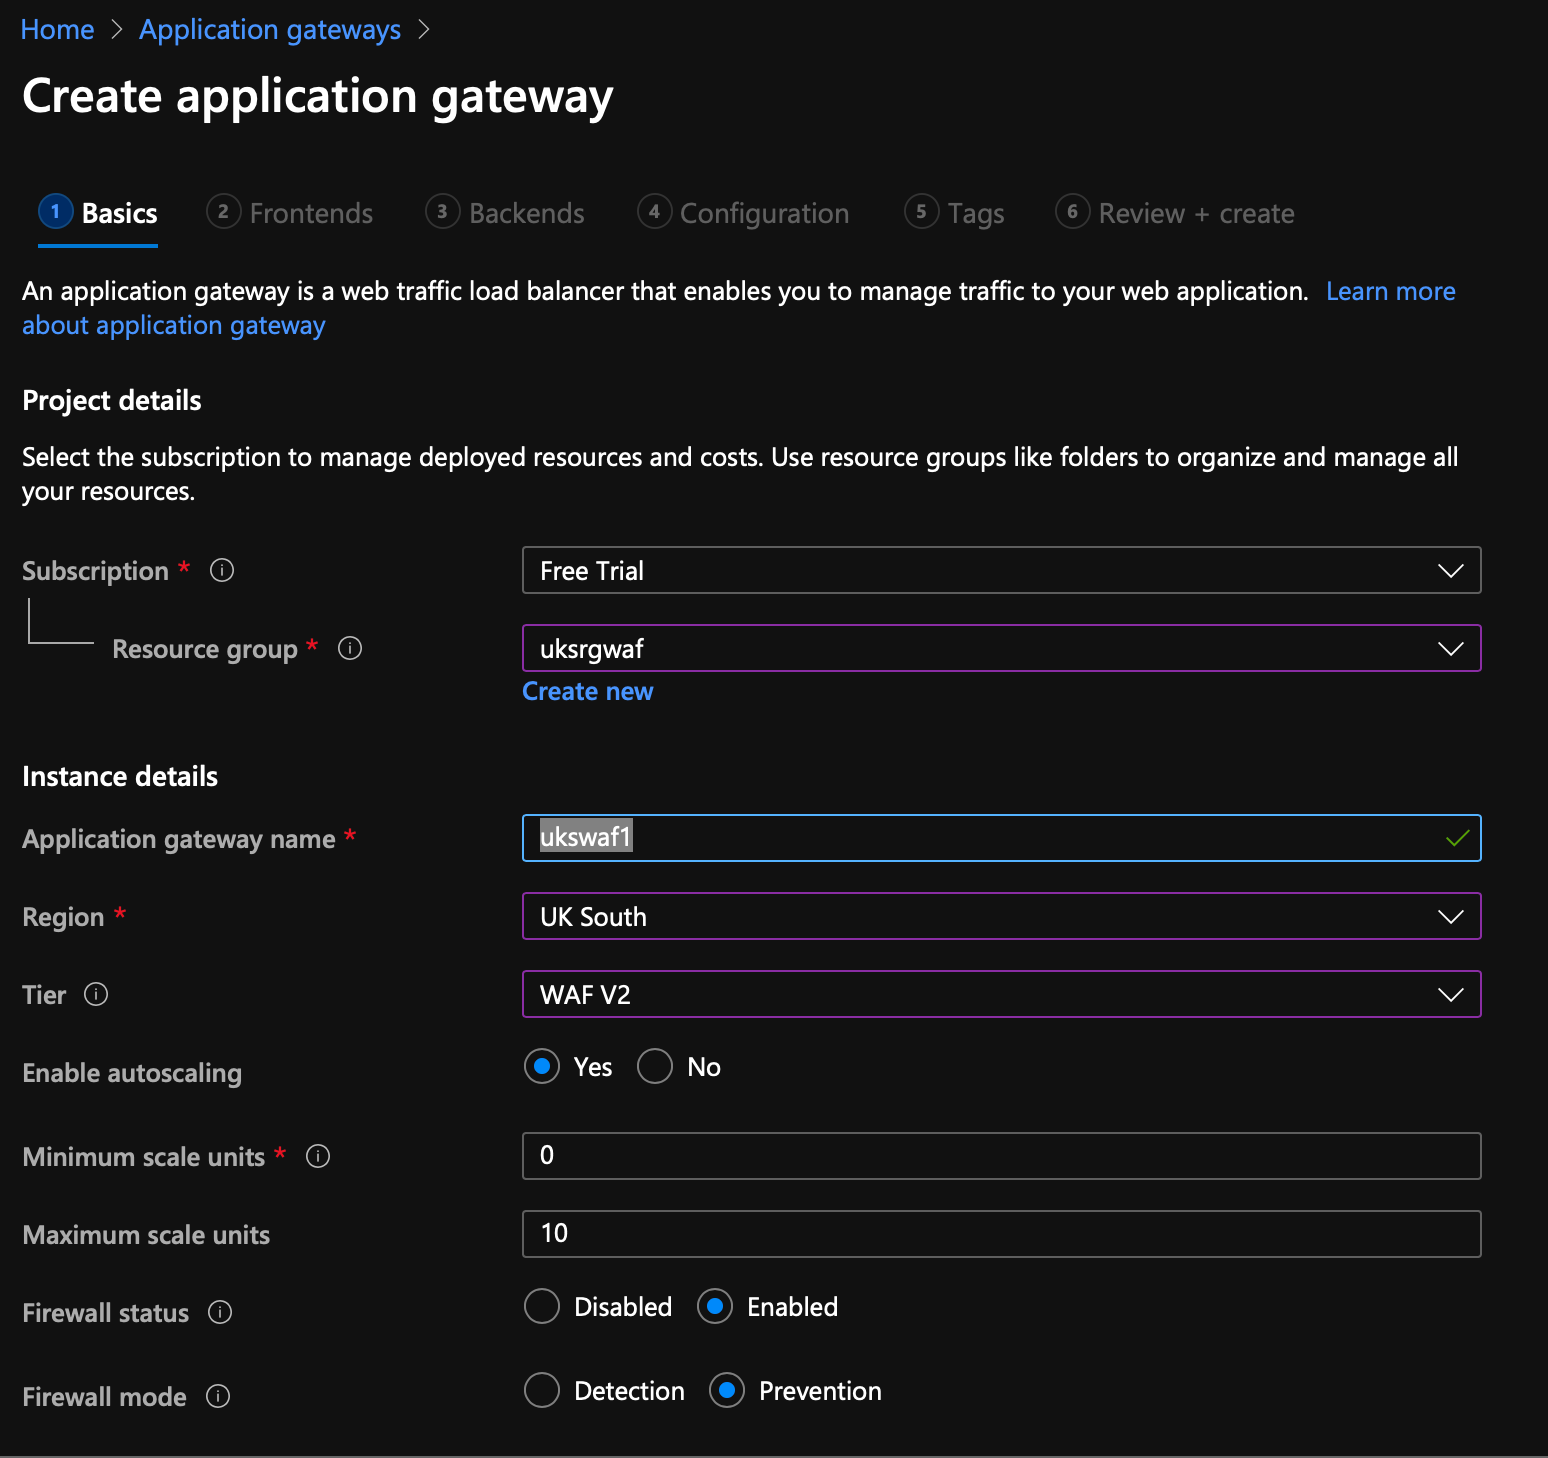
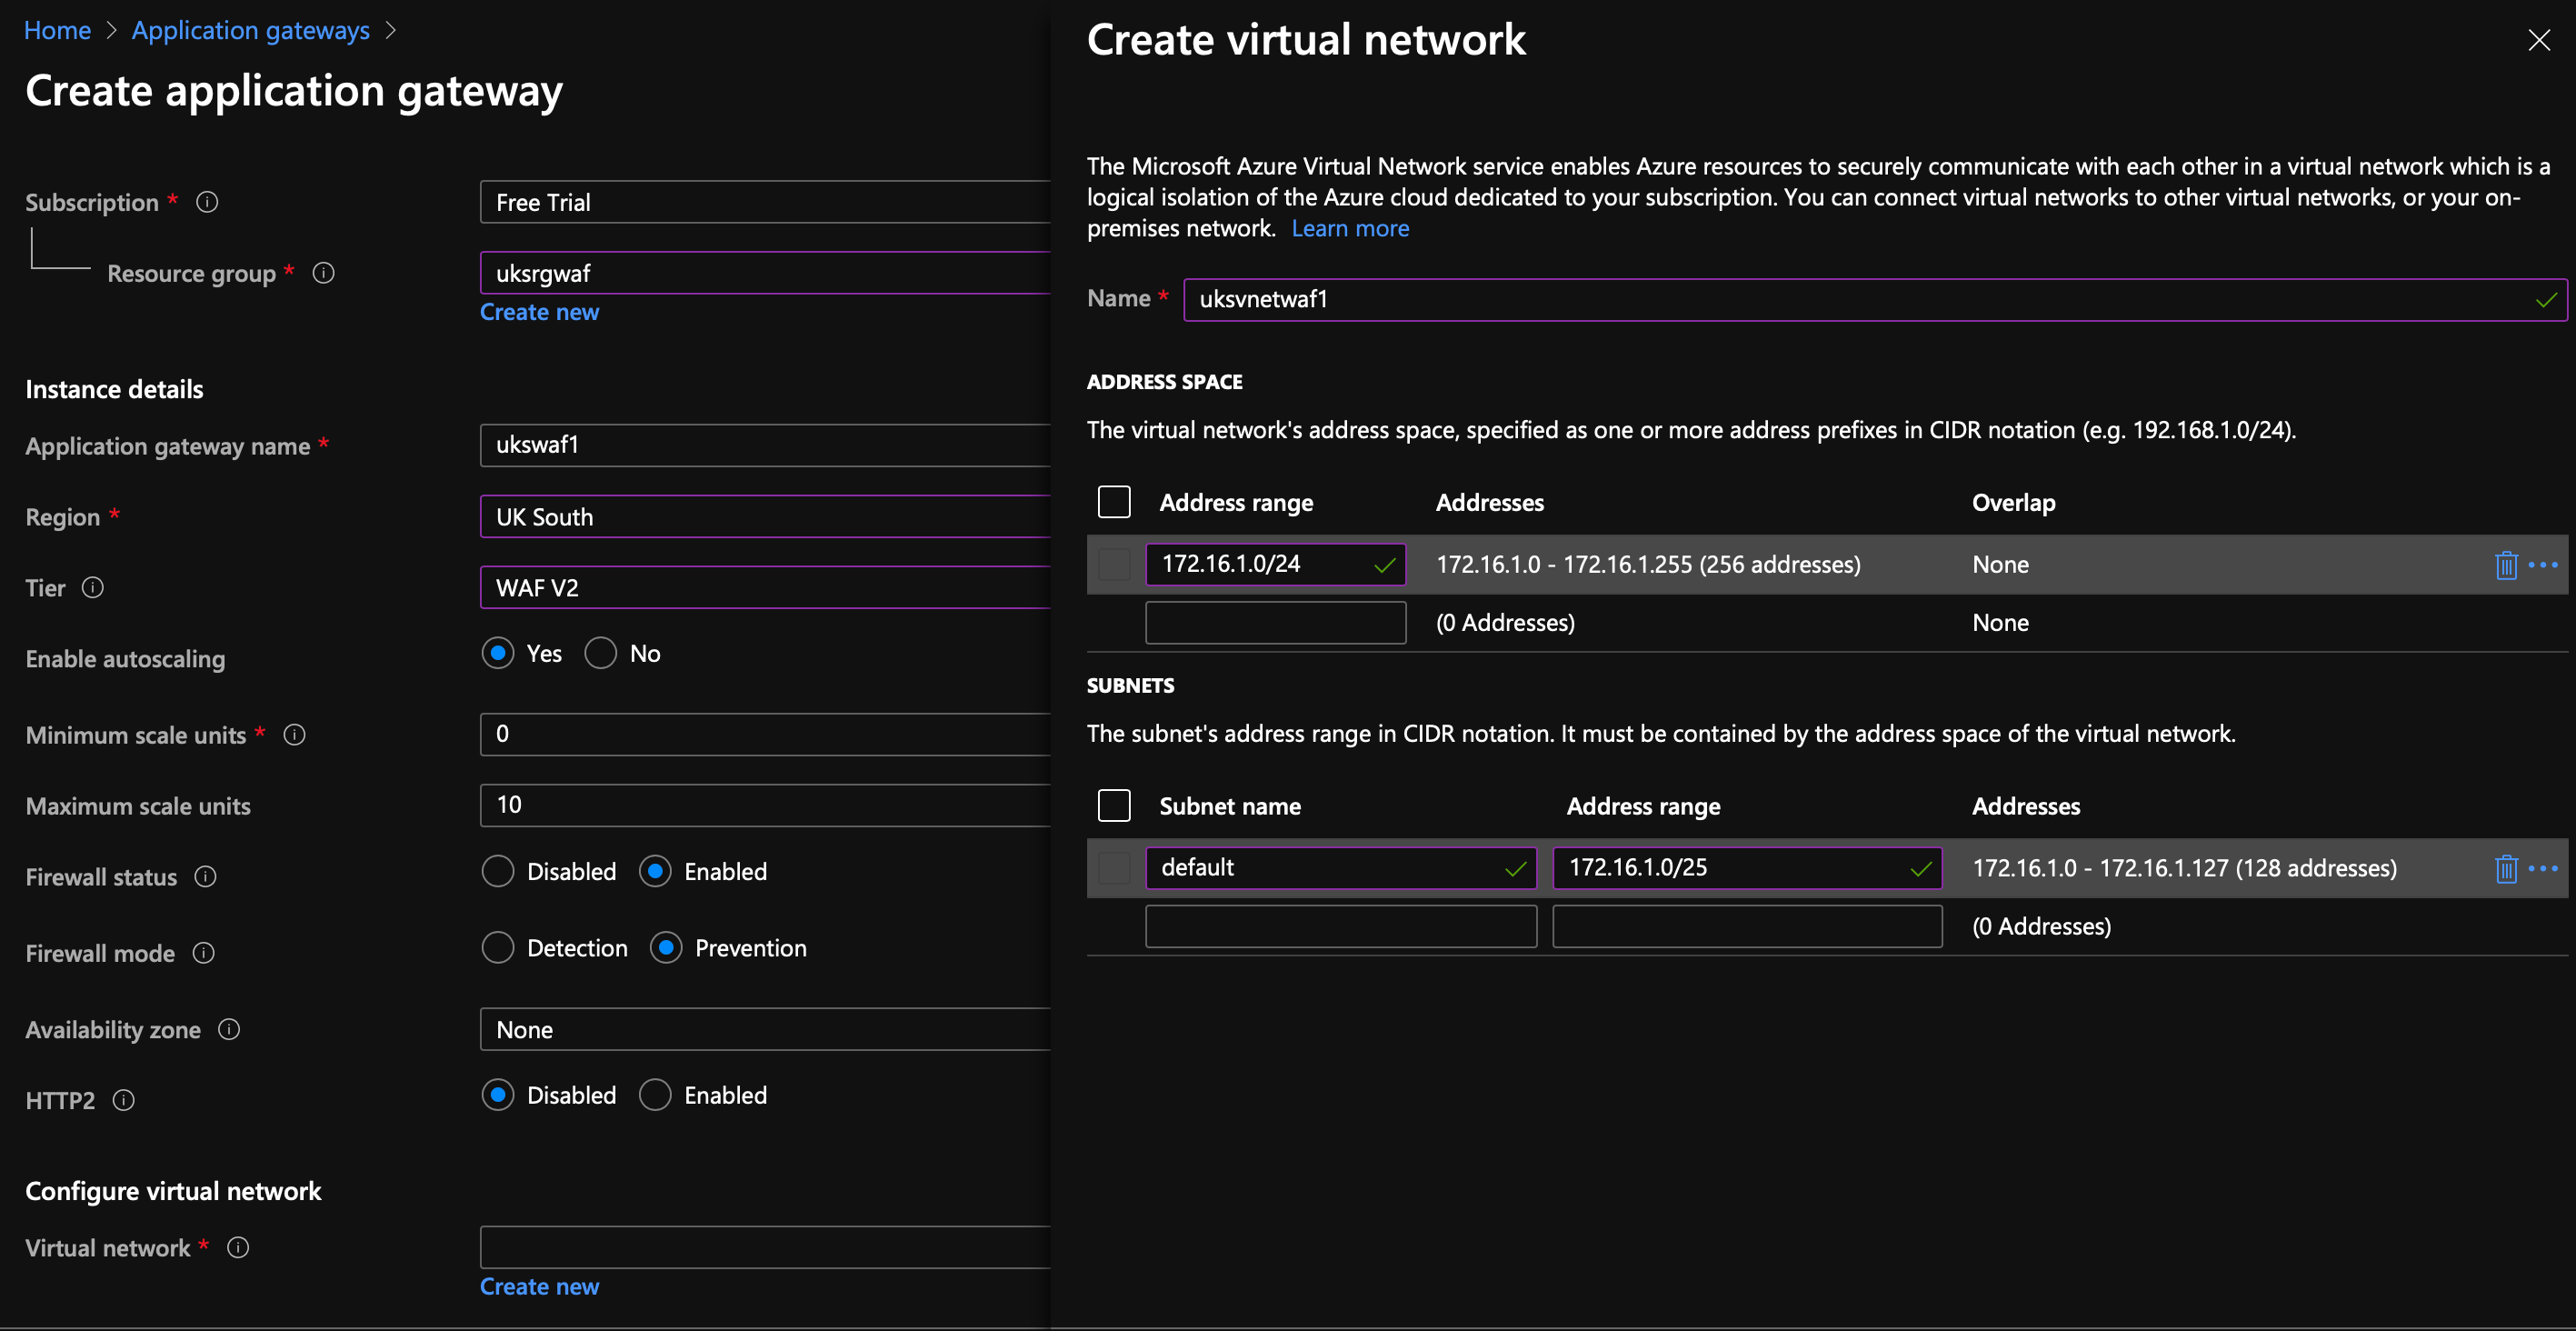
Change the Tier to WAF V2, set the firewall mode to Prevention, scroll down to networking and create a new vNet...
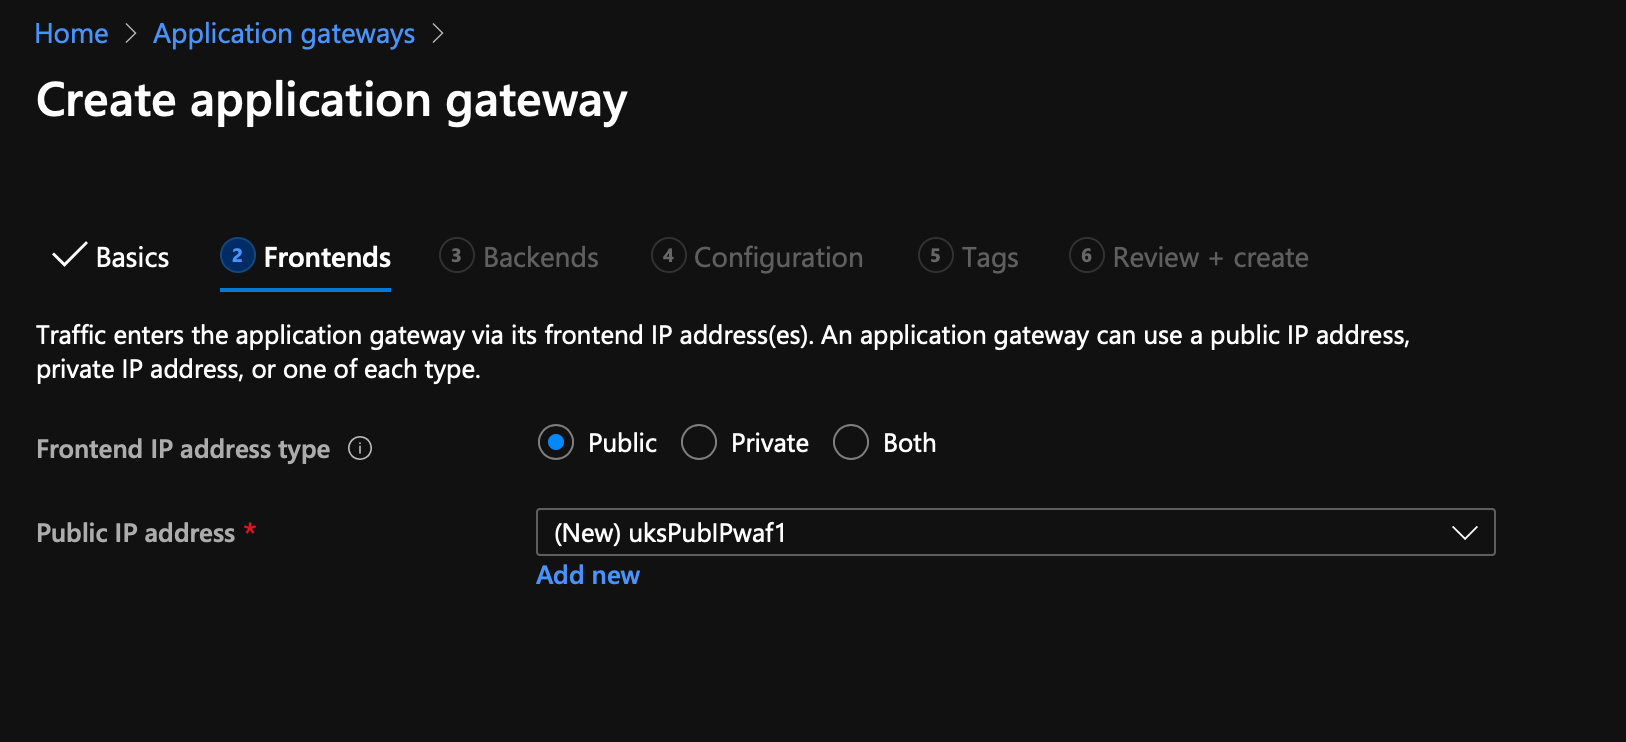
For the frontend, setup a new PublicIP
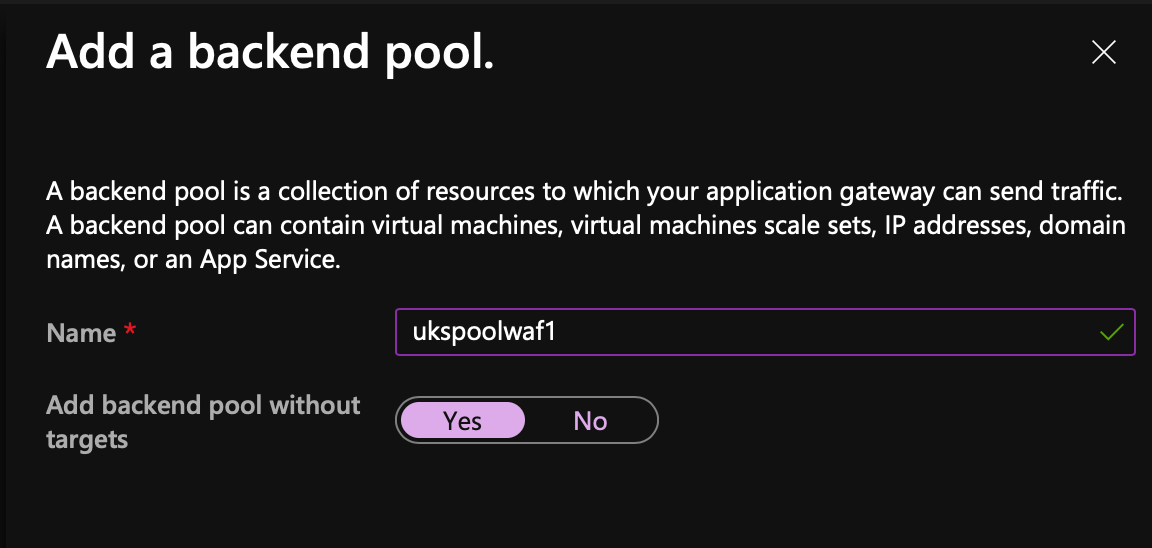
Next we need to setup a backend pool, for now select Add backend pool without targets we'll come back to that later!
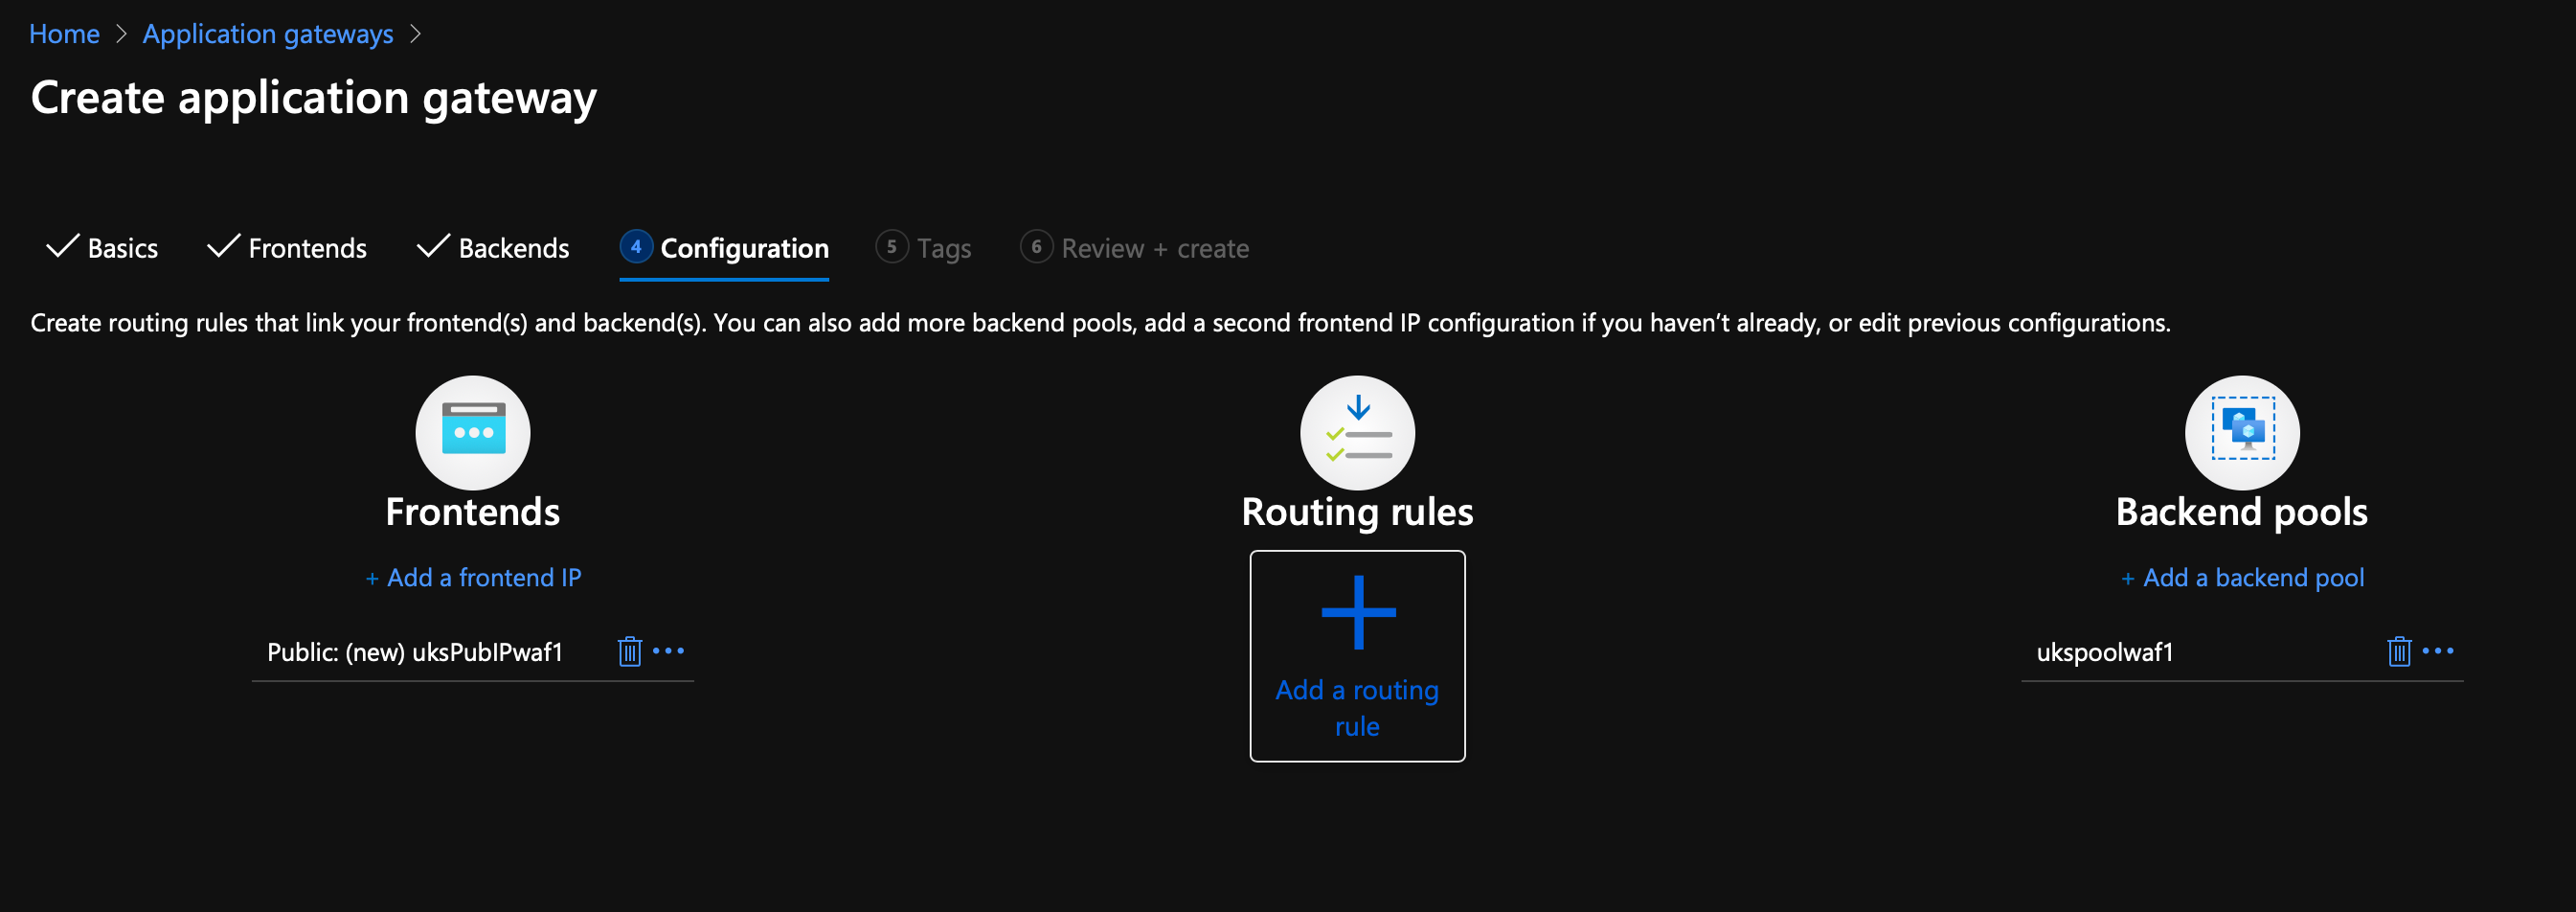
On the configuration page, notice how the left & right sides are already completed, we just need to add some rules in the middle...
For the listener, setup a basic HTTP routing rule..
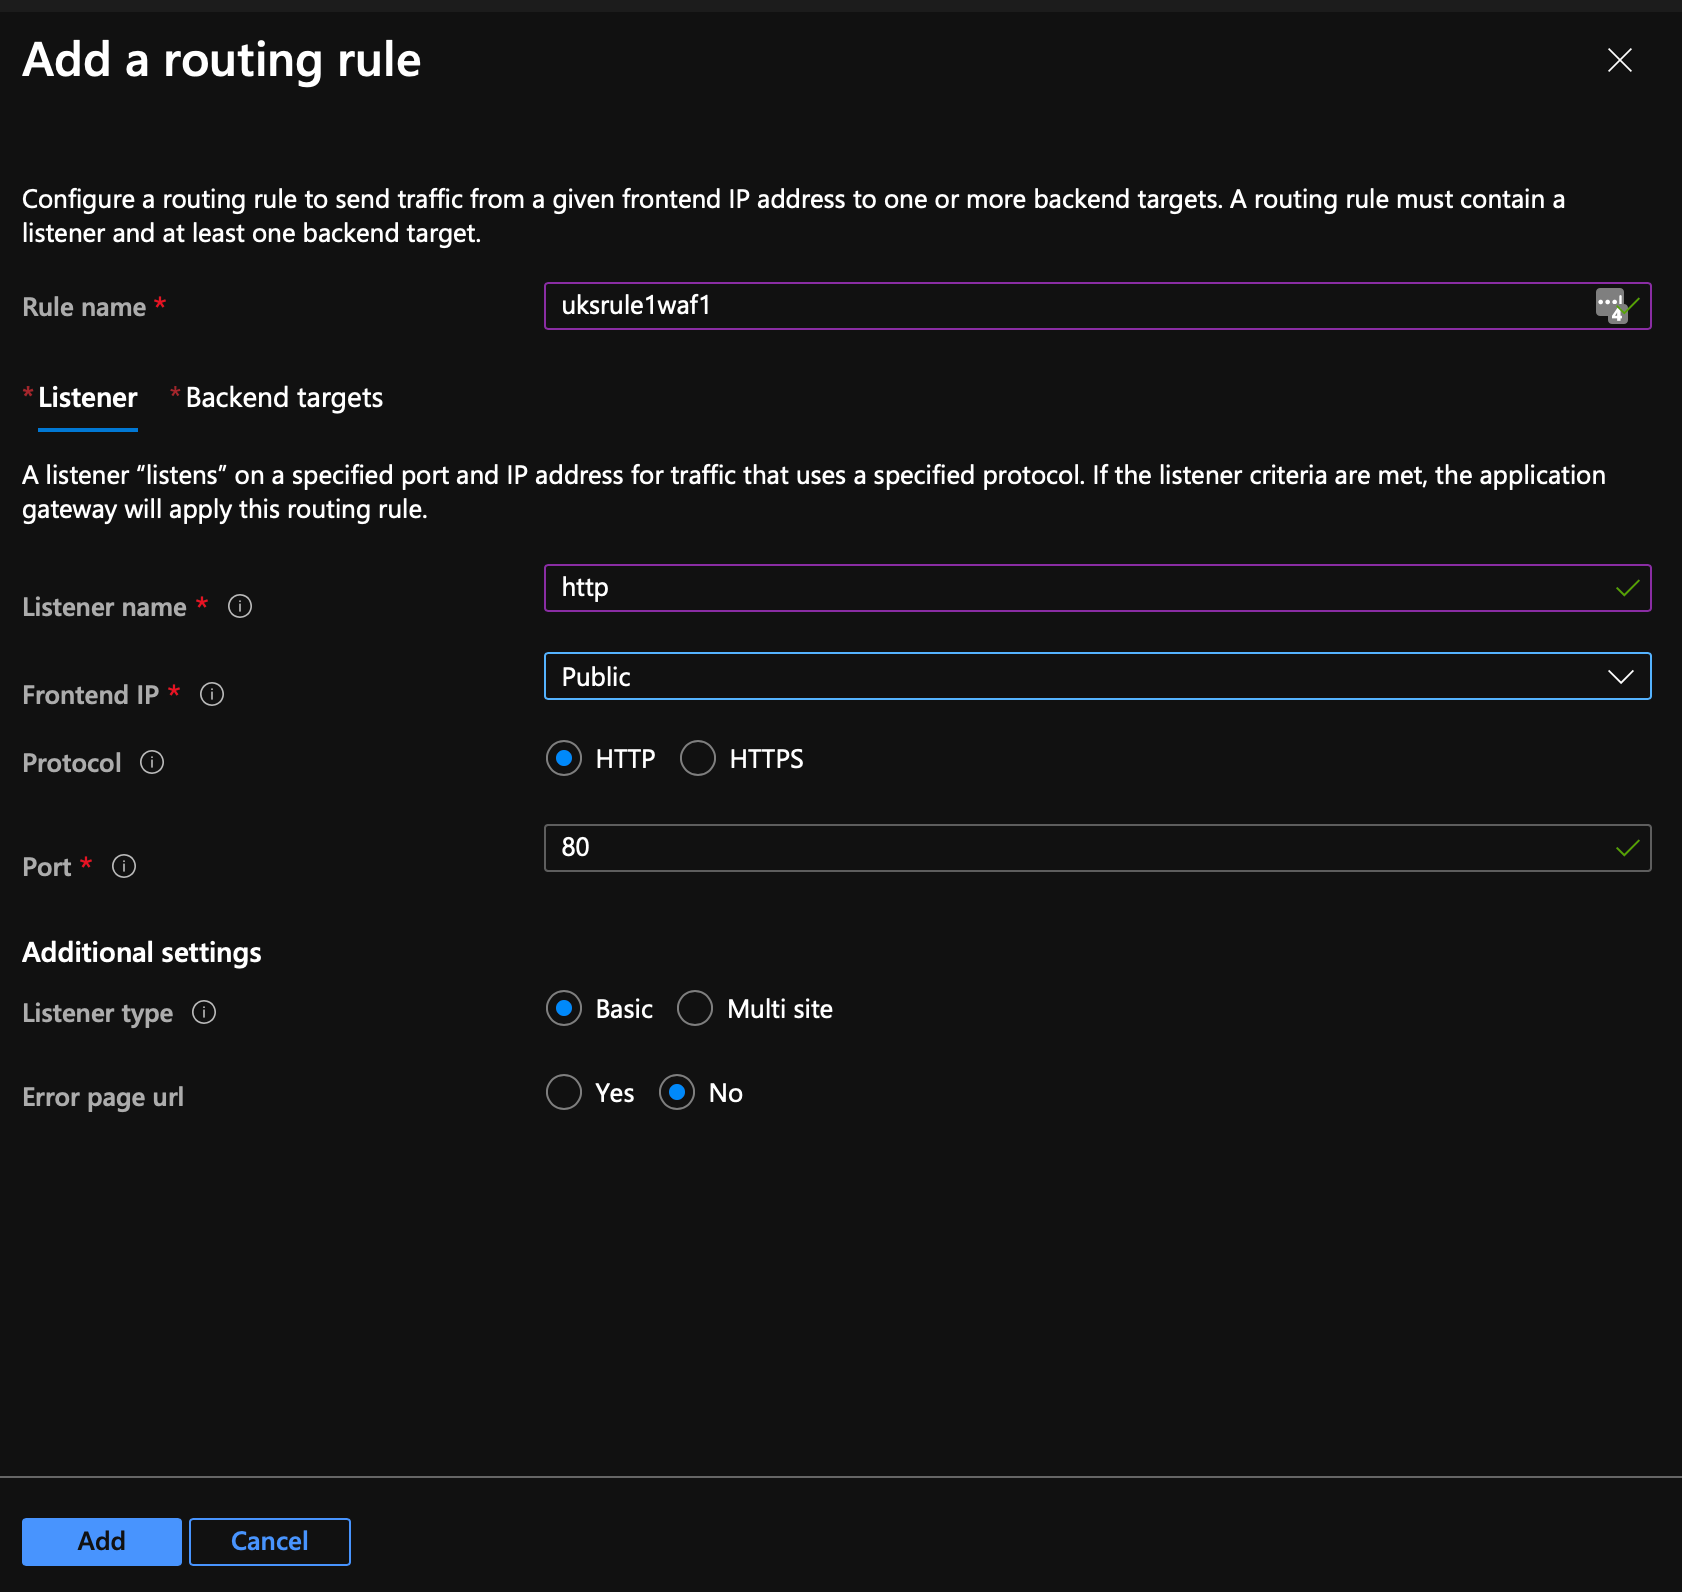
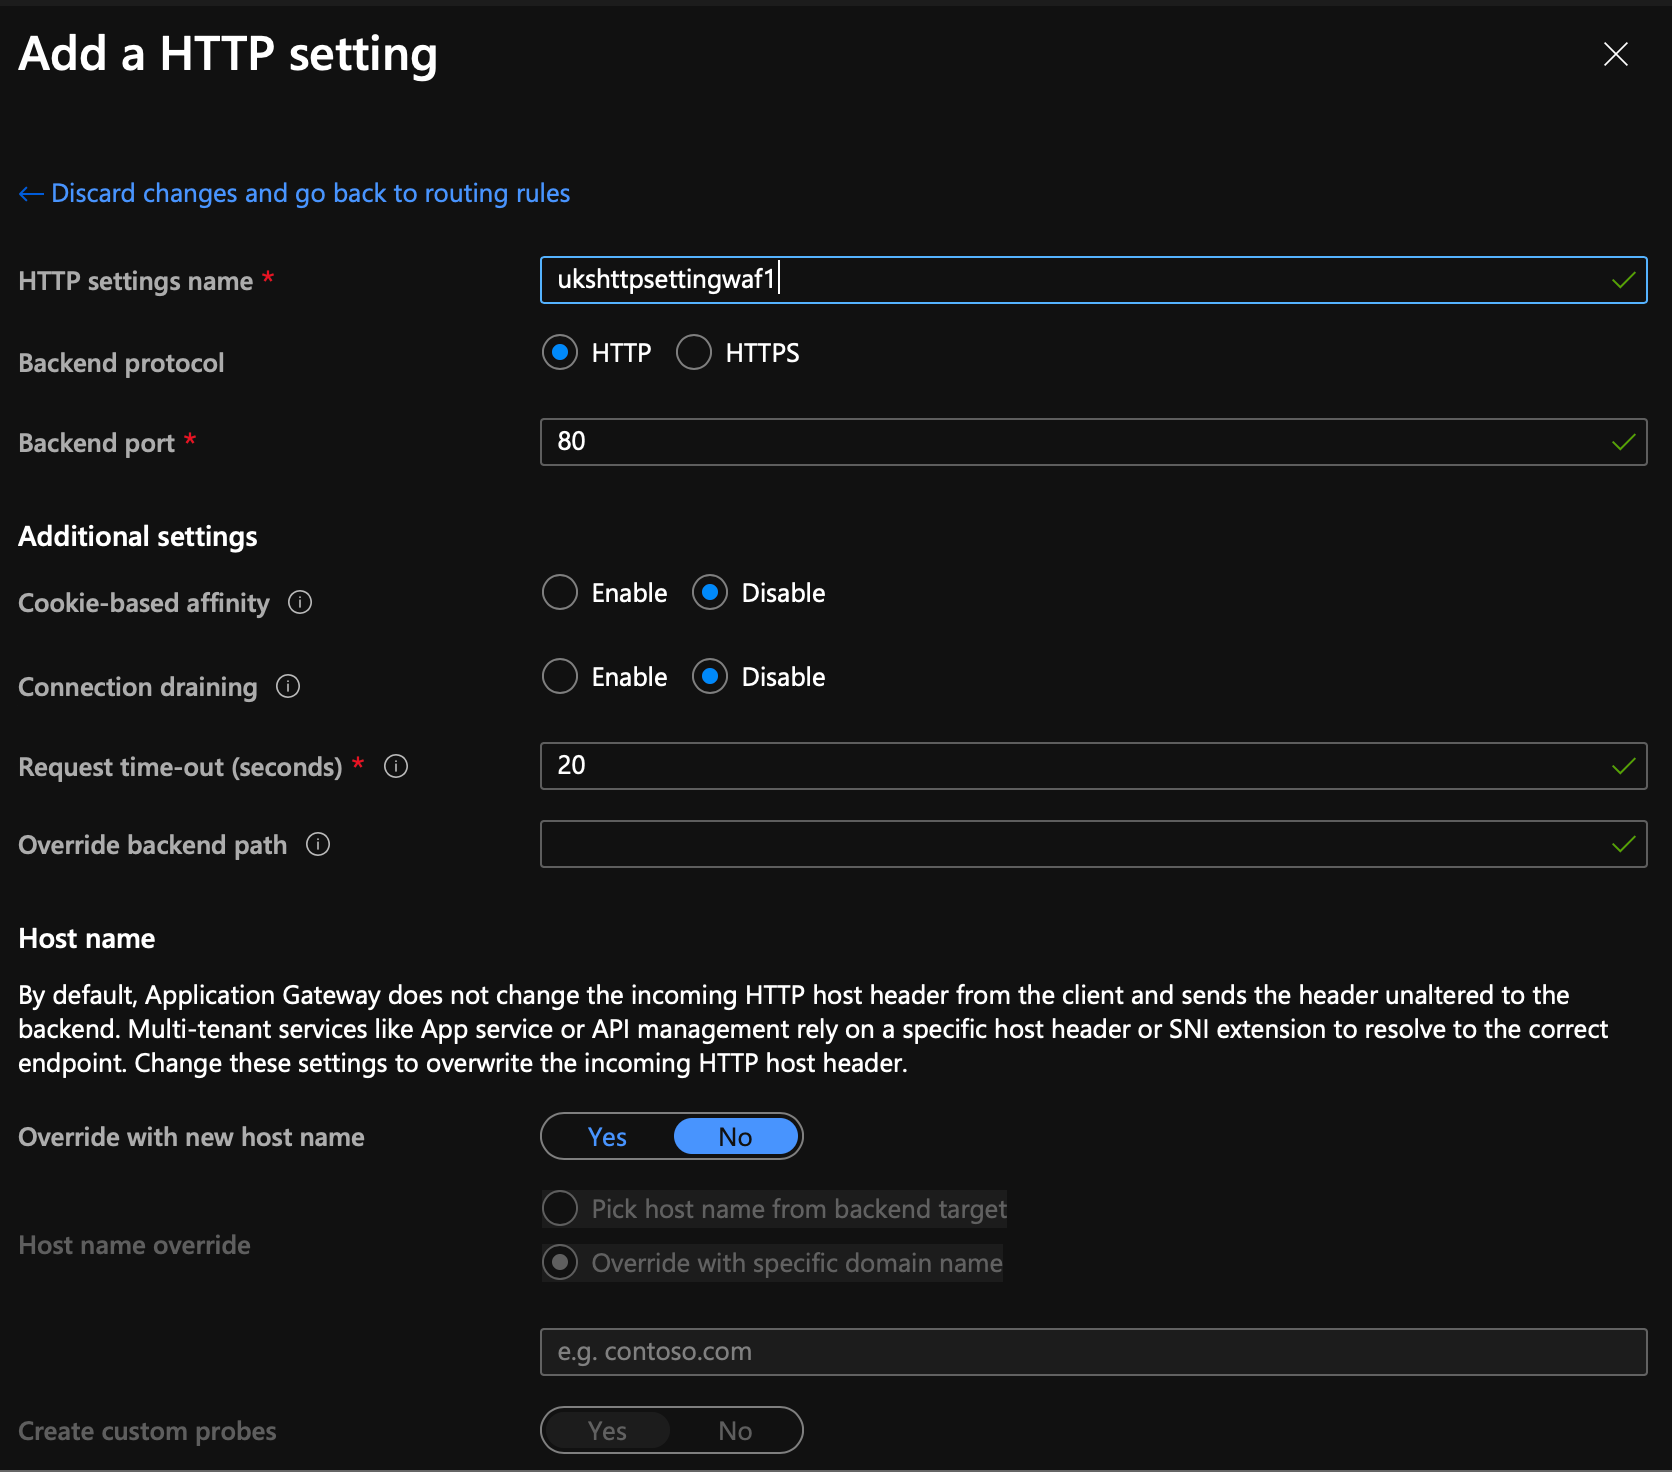
And then select Backend targets, assign our pool and add a new HTTP Setting; the HTTP settings will be 100% defaults, this is all load balancer stuff that won't apply to us as we have 1x Web Server.

Skip over tags and we can finally create.
Step 5 - Start joining the dots.
At this stage we have two islands, a docker container and a WAF, they're not connected. The first thing you want to do it peer the vNets.
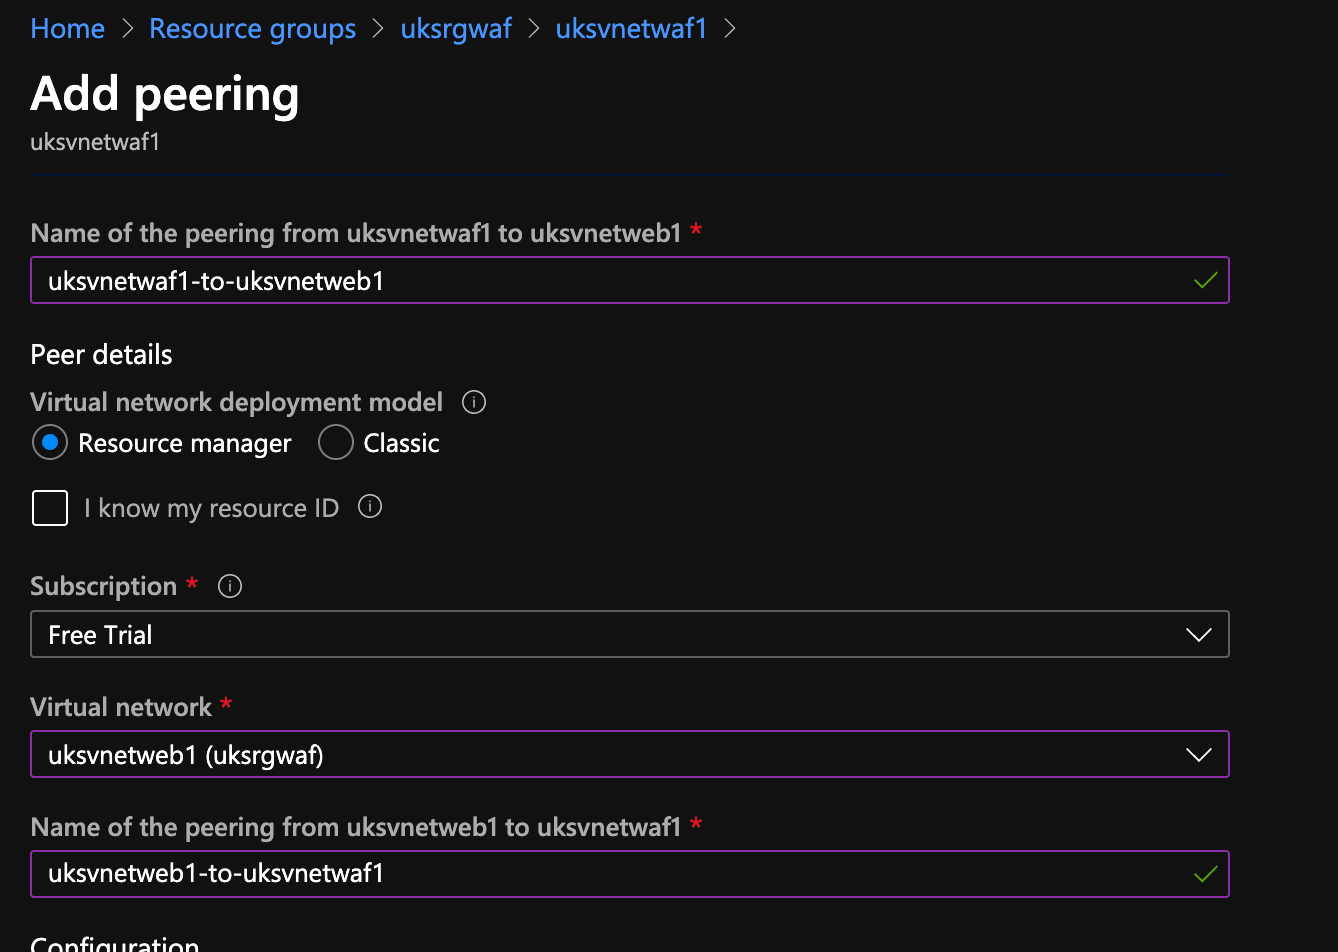
Peering
Open one of the vNets, I've selected uksvnetwaf1, select peering on the left and add a peering. Give it a name like uksvnetwaf1-to-uksvnetweb1, select uksvnetweb1 from the dropdown list and give that a name like uksvnetweb1-to-uksvnetwaf1
Scroll down to the bottom, and allow external traffic in...
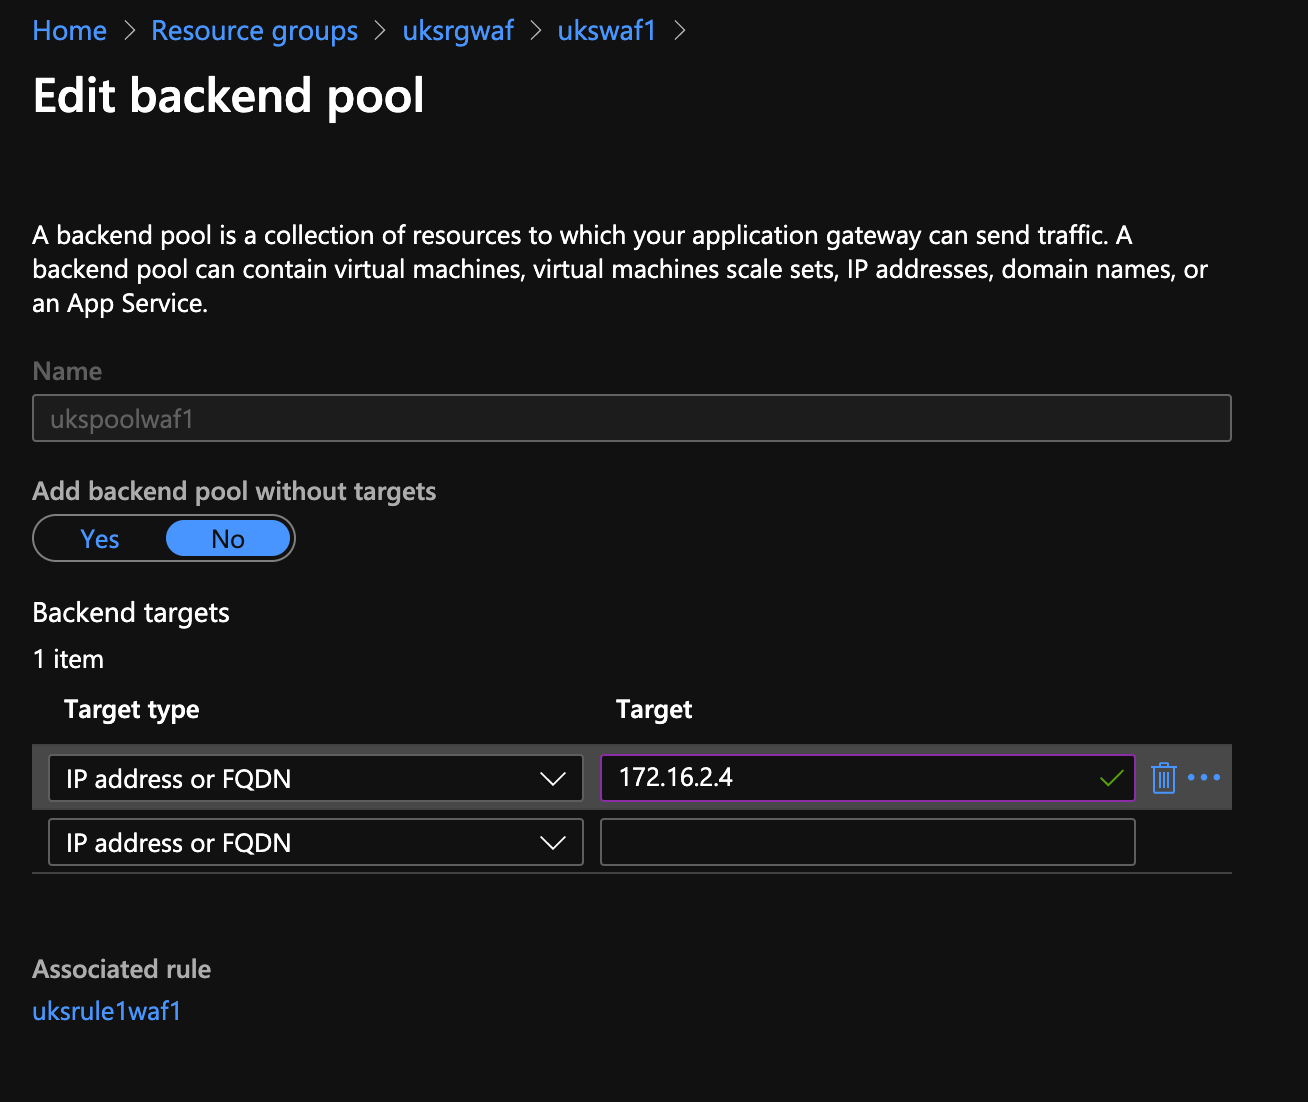
Update the Pool
Remember that step we skipped when creating the WAF (Application Gateway)... time to fix that.
Go into your container instance and grab the private IP
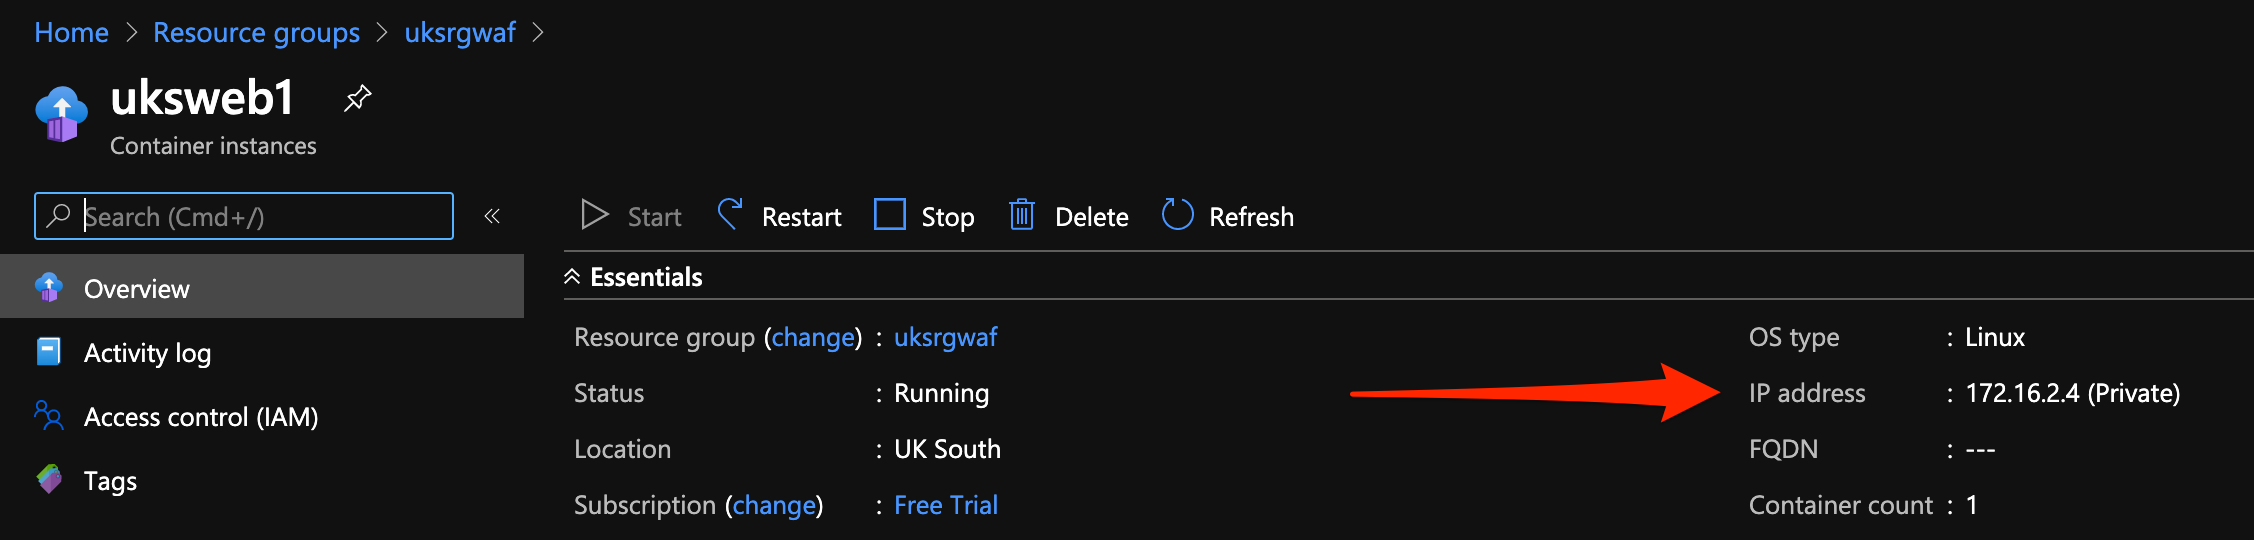
Now, go into your application gateway → backend pool and set the IP, mine is 172.16.2.4
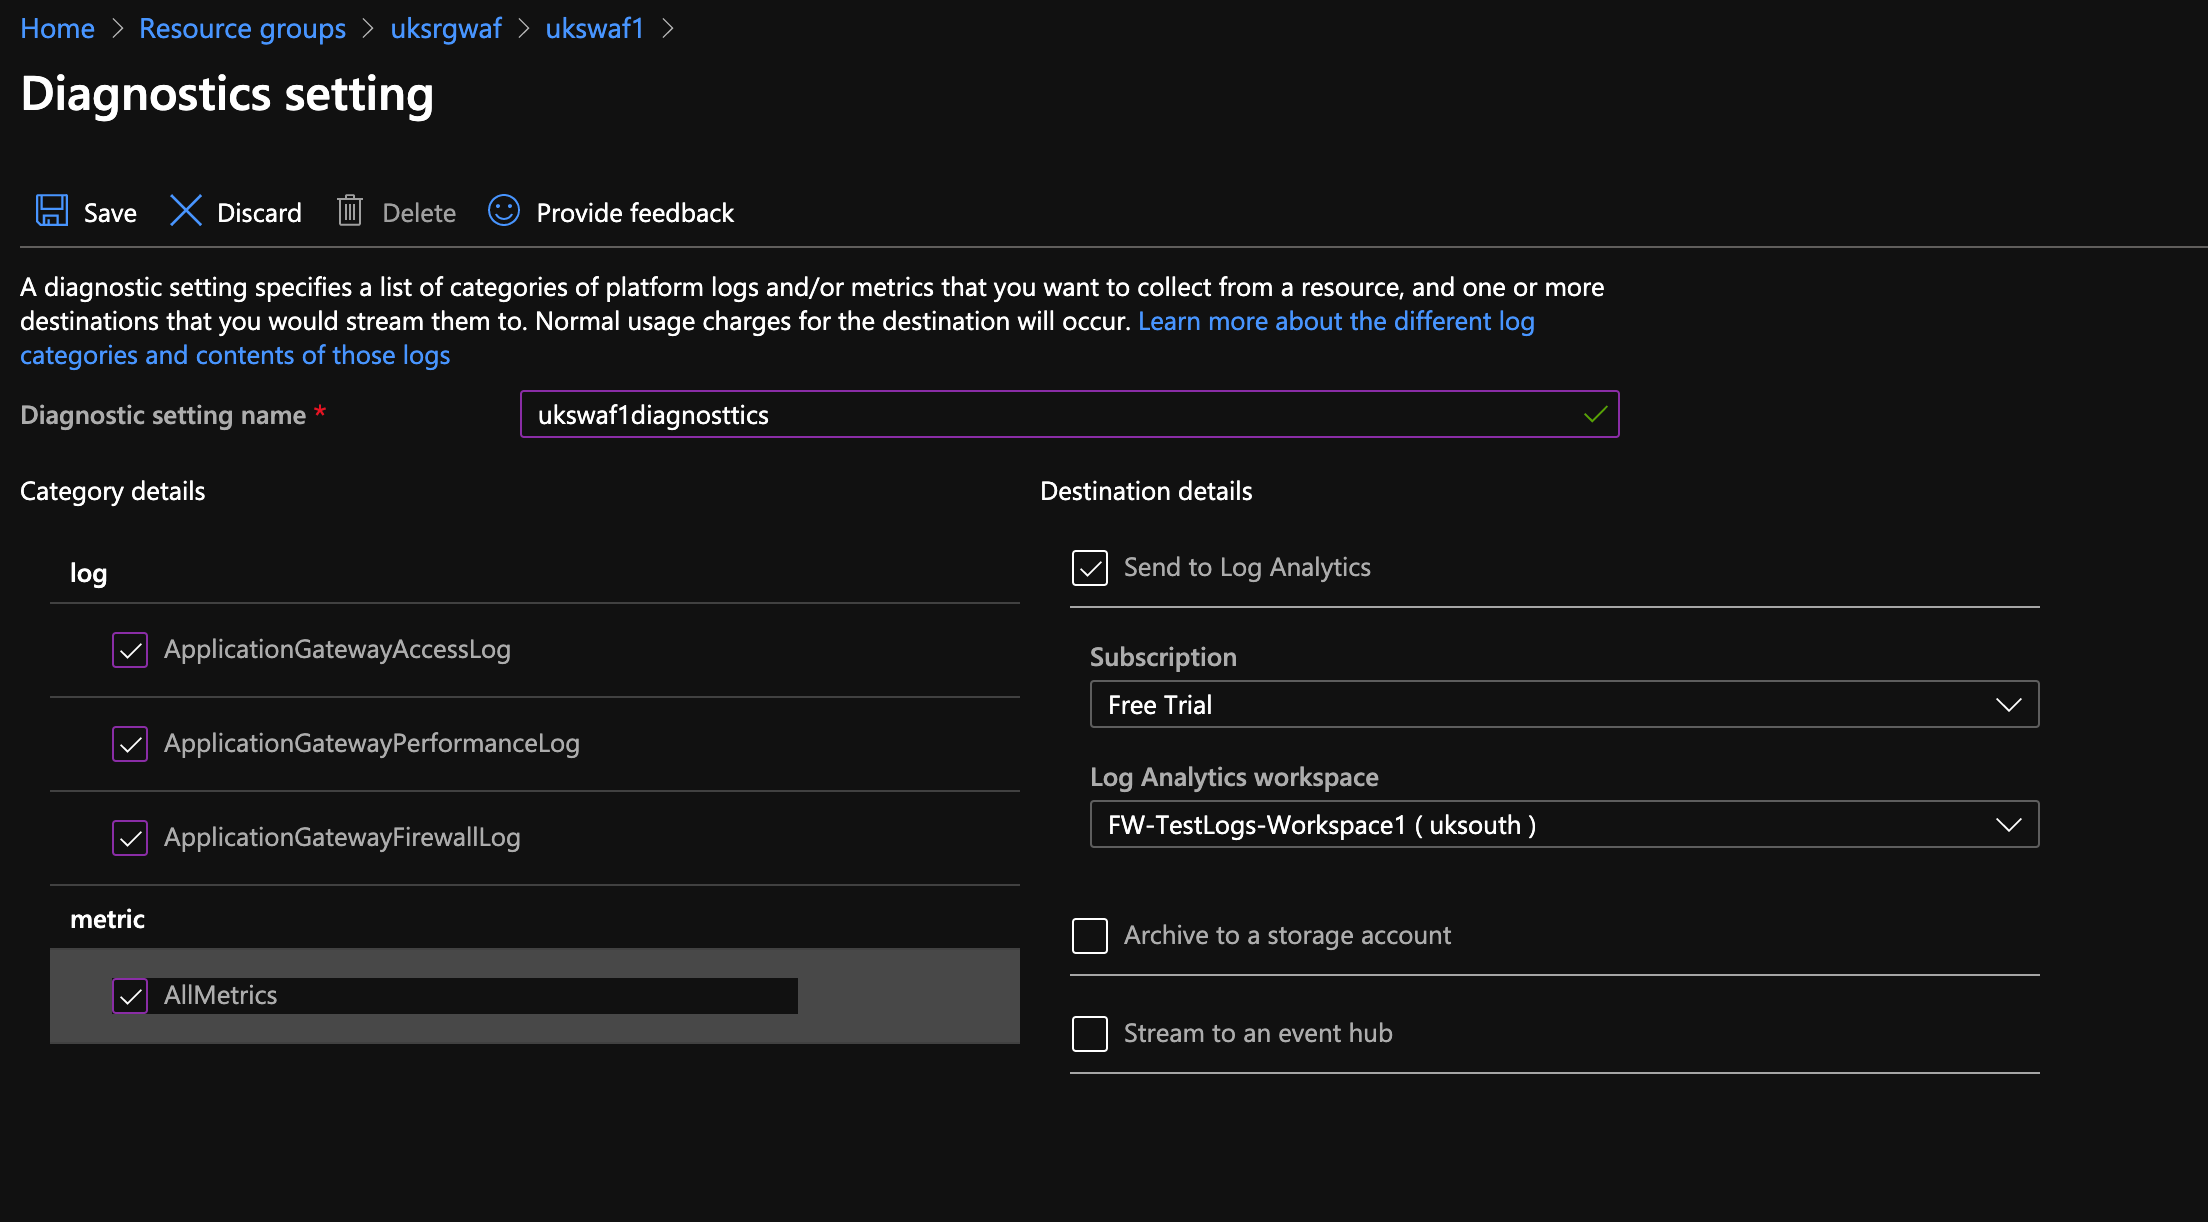
Diagnostic Settings
Remember that Log Analytics workspace we created; within your application gateway add some diagnostics pointing the logs to the workspace.

Step 6 - Bootstrap DVWA
If all has gone well, in a new tab/window you can browse to your public IP http://a.b.c.d and you should get the DVWA log in screen.
The default credentials are admin & password, scroll to the bottom and click create / reset database , you'll be redirected to the login screen where you can log back in.
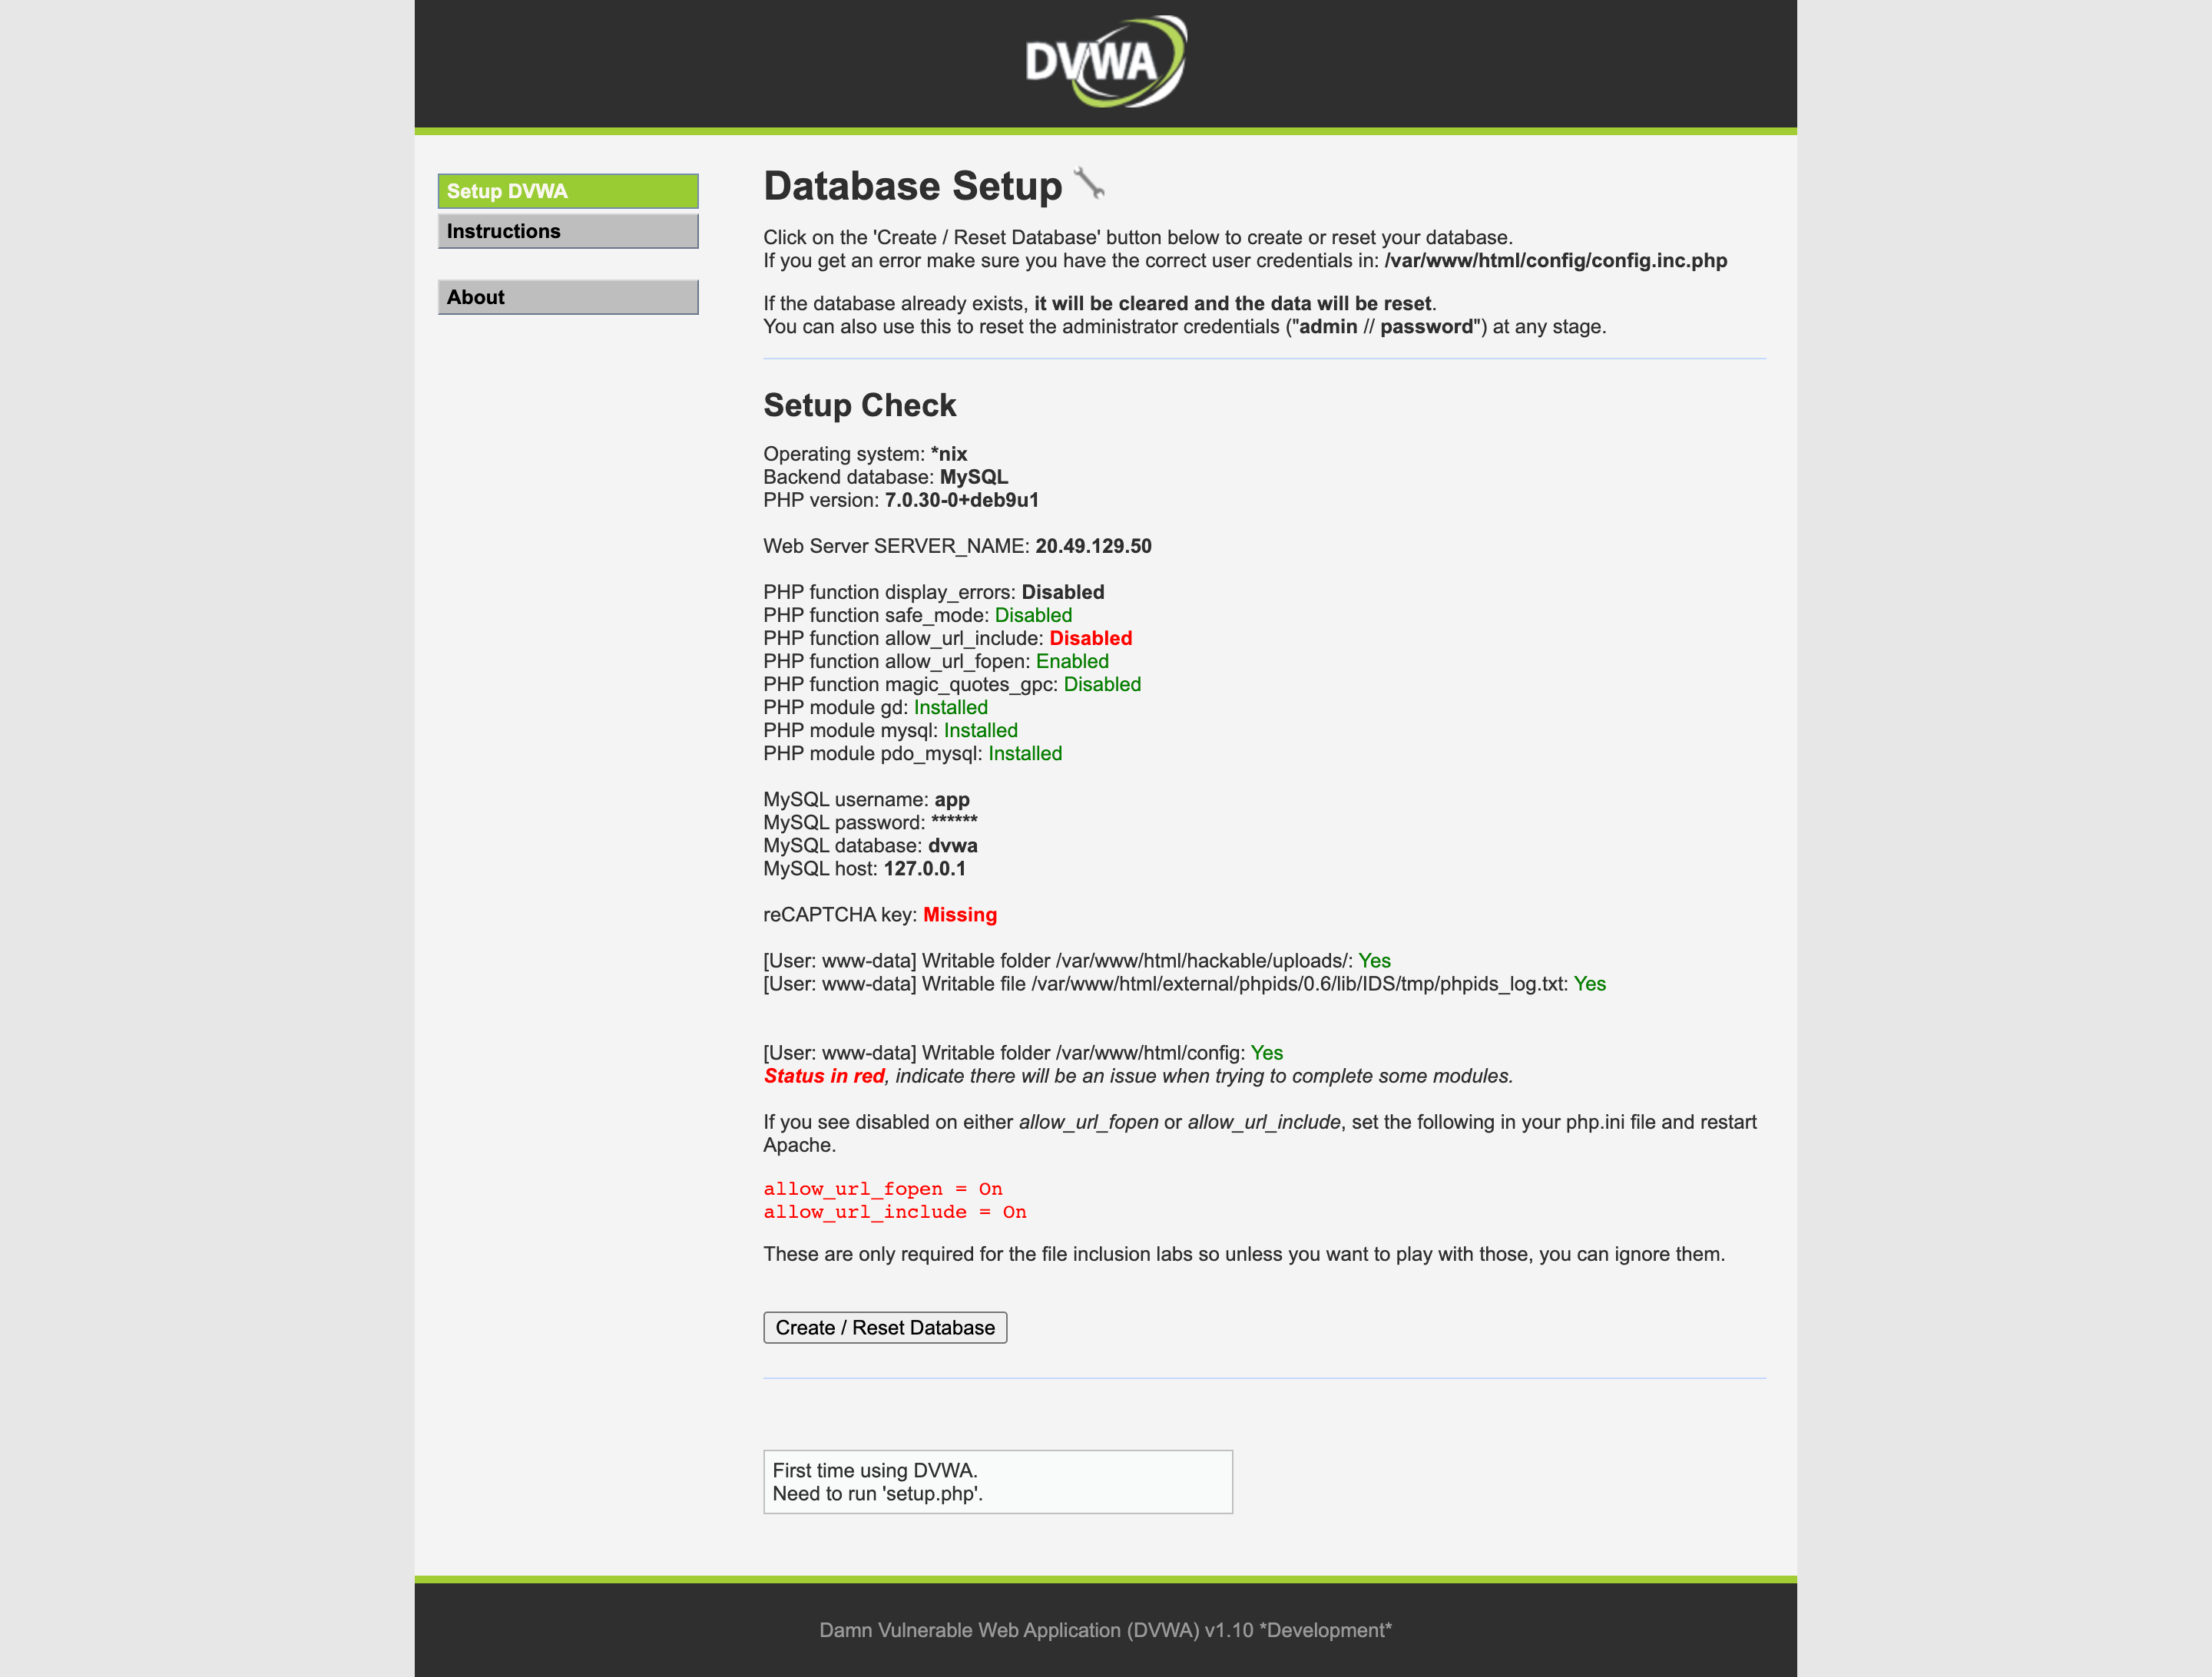
At this stage you might want to change the password (under the CSRF menu) so you can play in peace, but just remember this thing is designed to be hacked 🙃
Step 7 - Lets test!
To prove the functionality we're going to do a couple of basic tests, a command injection and an SQL Inject, we're also going to disable a WAF RULE to show how to switch stuff off.
How to disable a rule
The WAF comes with a bunch of rules enabled by default, if you're deploying this into production the developers are going to be very concerned about the WAF blocking legitimate requests. To demonstrate the steps, we're going to disable the rule that flags "IP in header"; by default you should browser a site by it's name, but in our test we don't have one so let's switch off that rule.
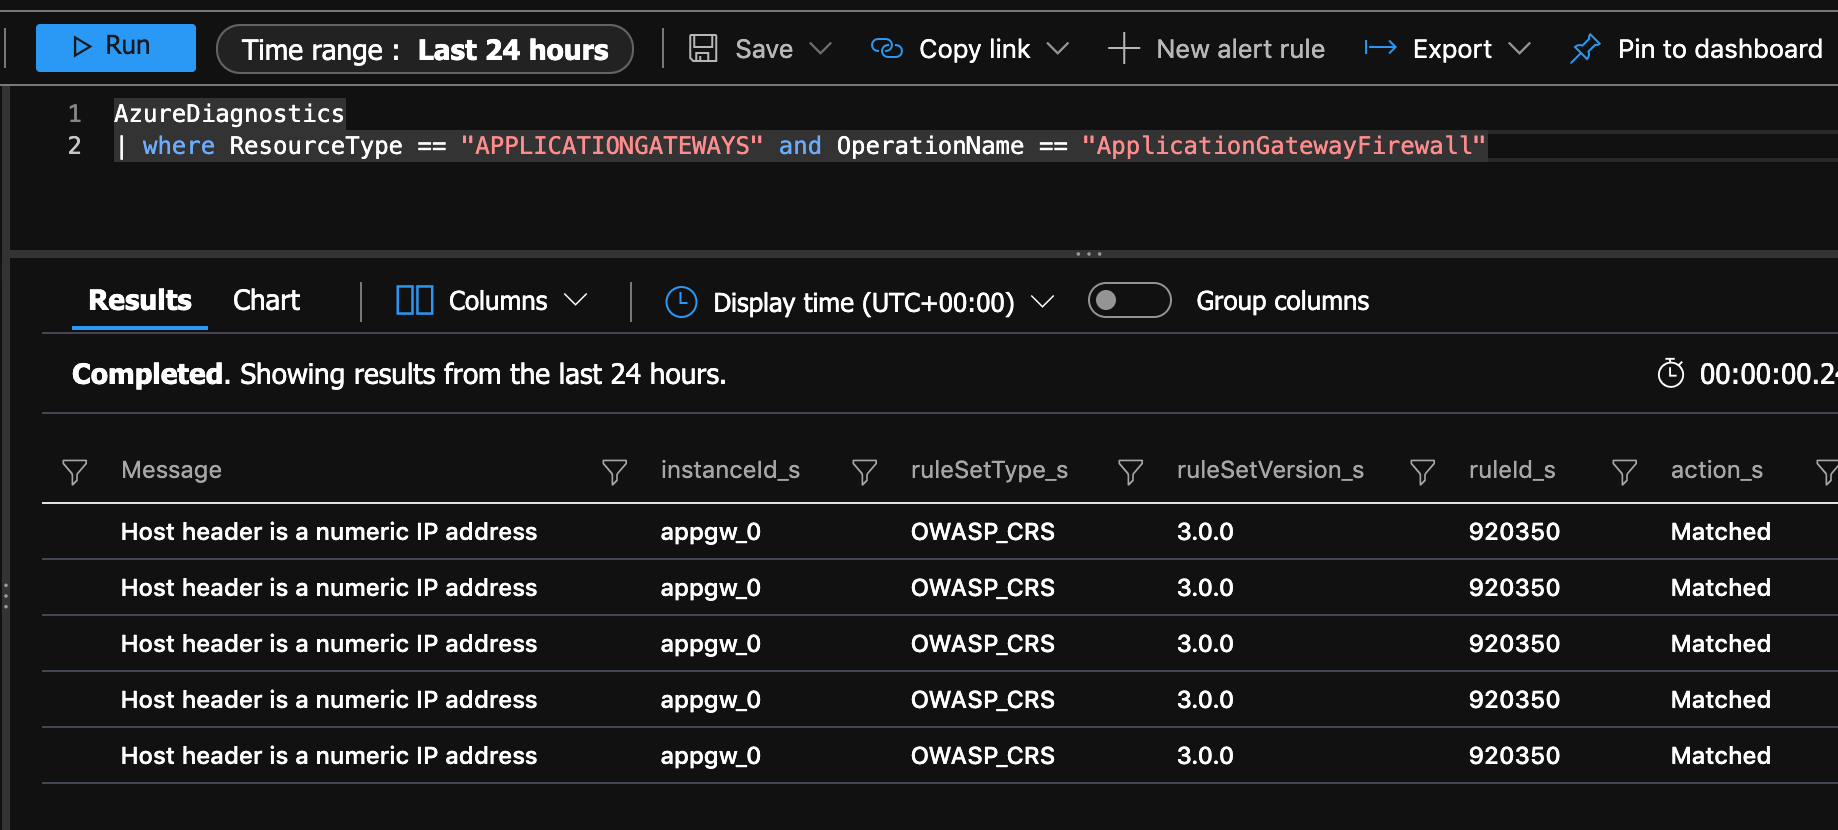
Go into your logs, and run this query to find WAF events...
AzureDiagnostics
| where ResourceType == "APPLICATIONGATEWAYS" and OperationName == "ApplicationGatewayFirewall"
Scroll to the right you should see message Host header is a numeric IP address with the rule ID 920350
Now go into Web Application Firewall → Rules and enable advanced configuration, search for 920350 and untick the box... then click save.
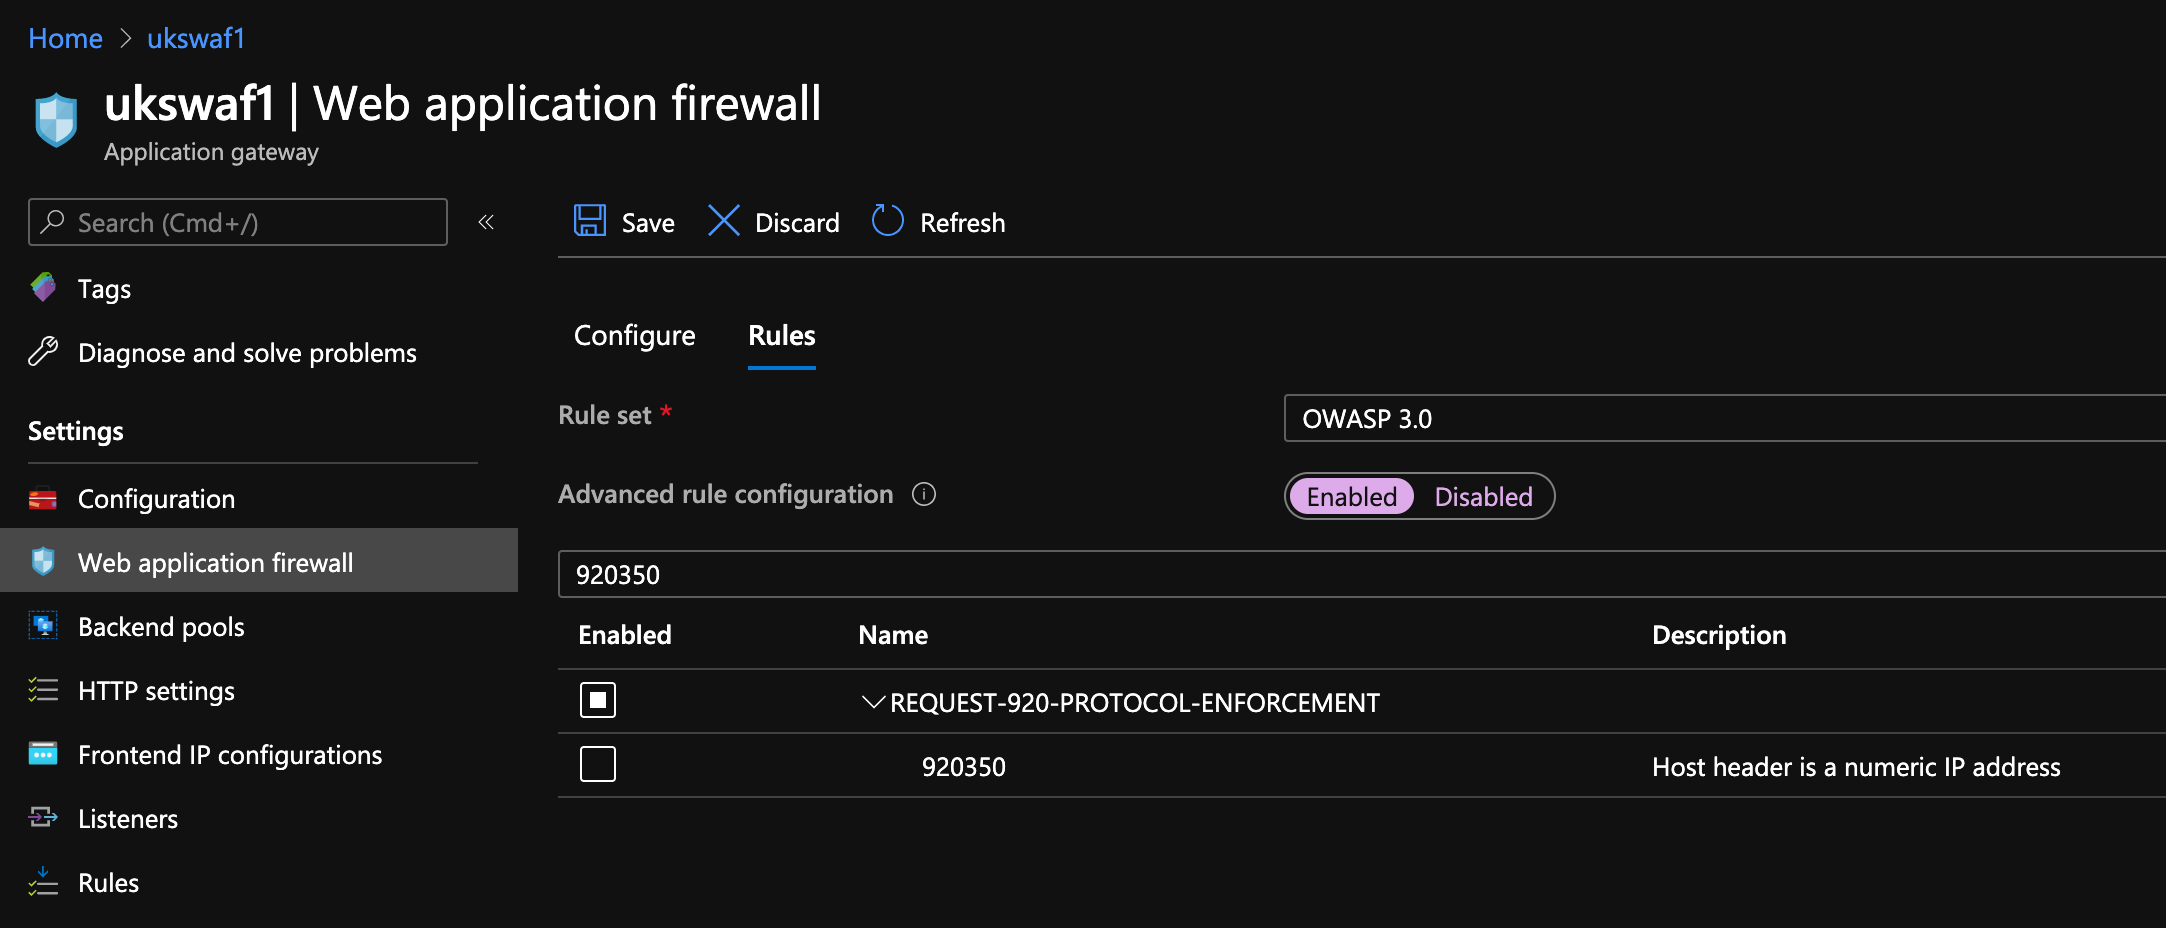
Job done, that should clean out your logs a bit for the next test.
Blocking Command Injection
We're going nice and simple, from your DVWA tab, select Command Injection and type in 127.0.0.1;cat /etc/password and click submit.

You should get a forbidden page, notice how it says Microsoft-Azure-Application-Gateway/v2 ... the WAF blocked the attack. At this point be a little patient, it can take a while for logs to show up in the azure portal, but this time run:
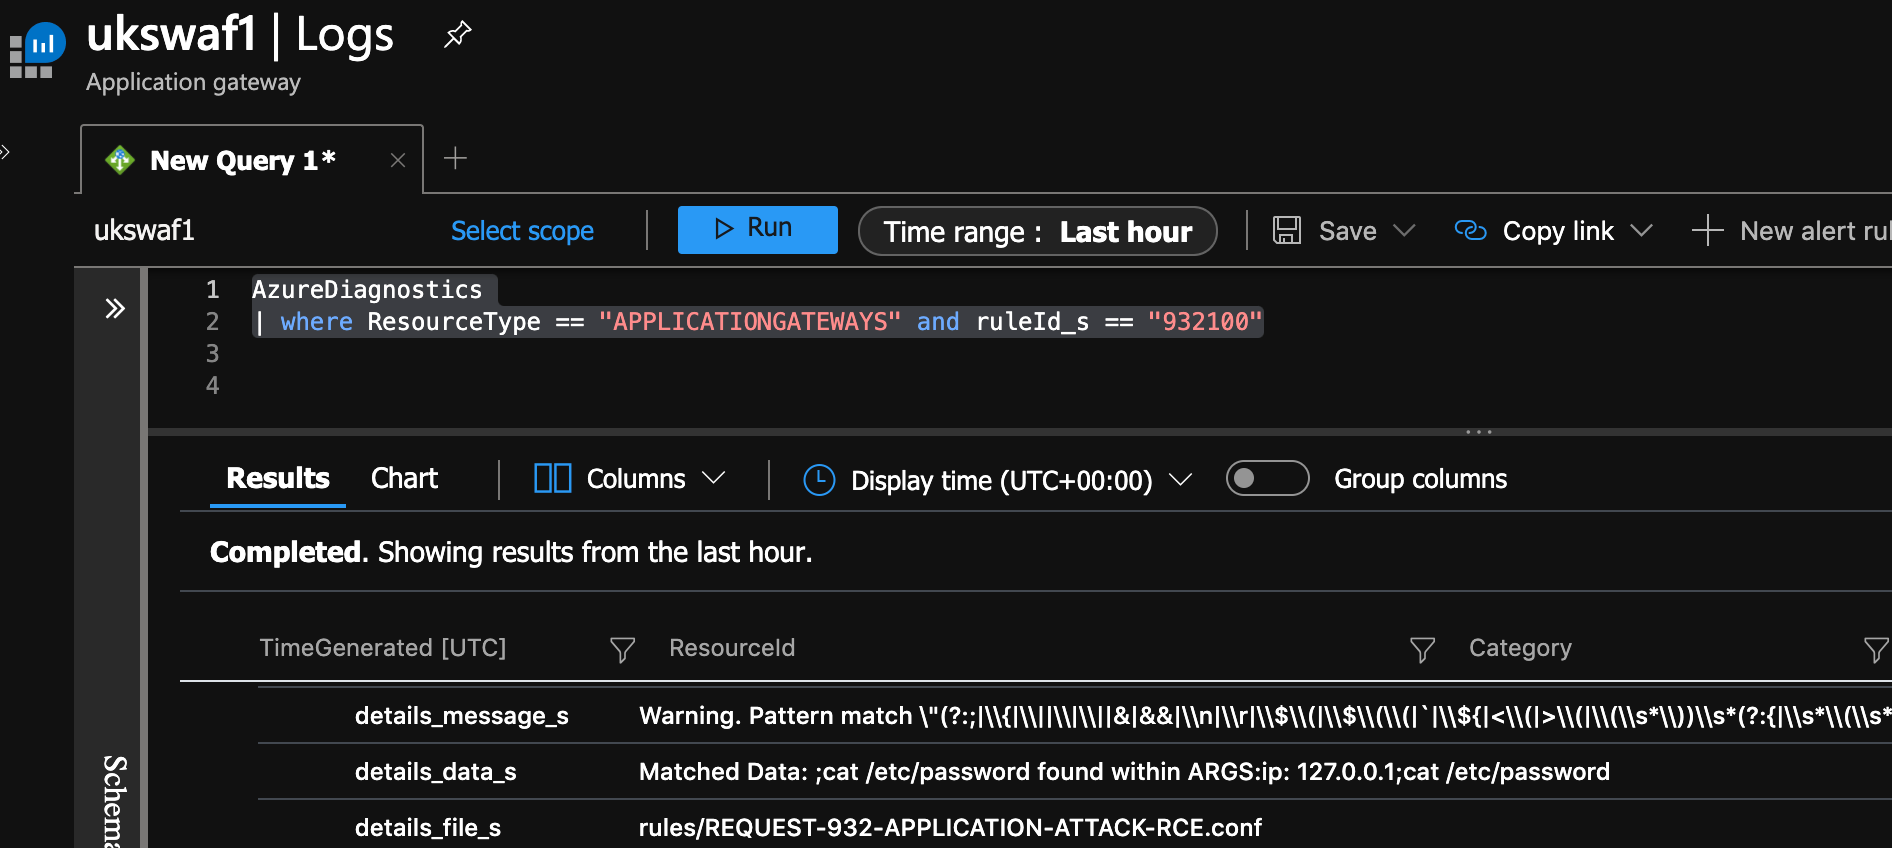
AzureDiagnostics
| where ResourceType == "APPLICATIONGATEWAYS" and ruleId_s == "932100"
You can see the command matched a rule that caused the block.
Blocking SQL Injection
For the 2nd test, browse to SQL injection and type in %' or '0'='0 and click submit.
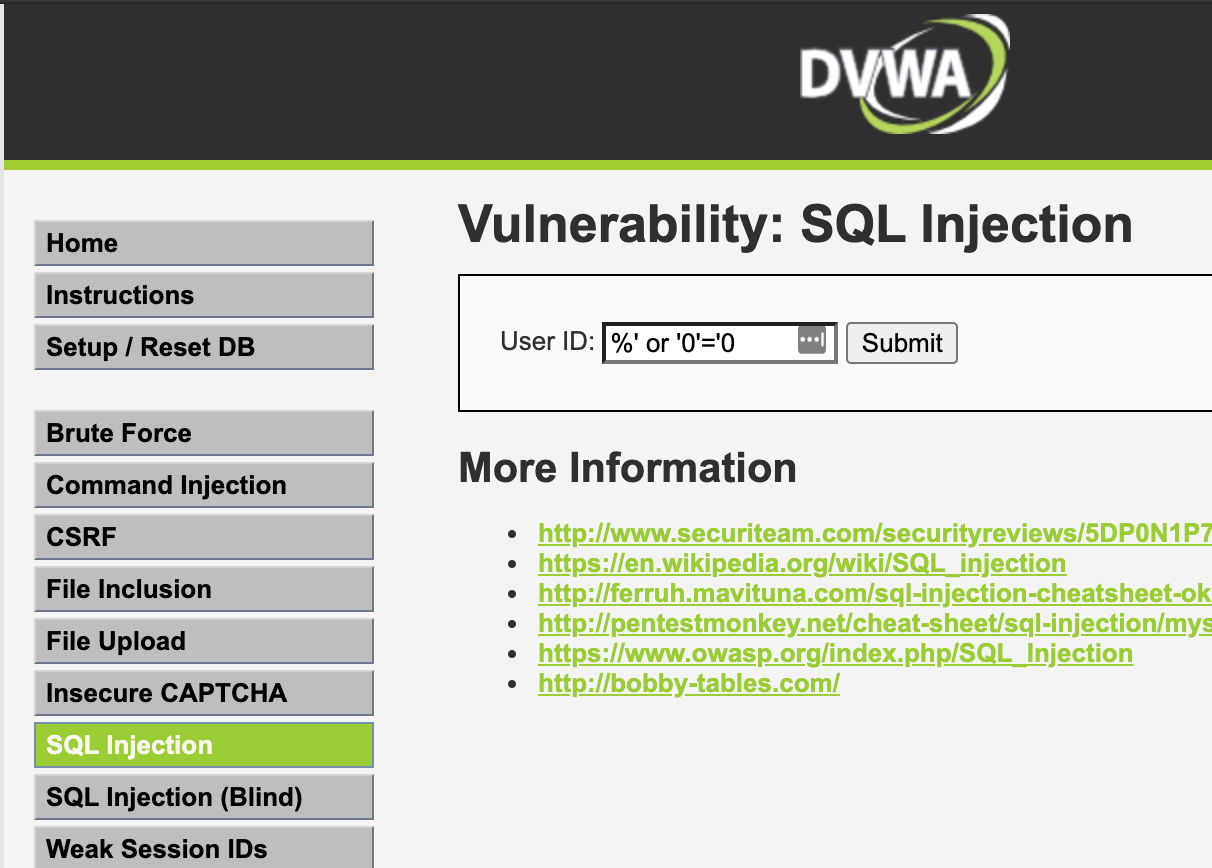
Once again, you should see the blank Azure 403 forbidden page!
Run this log search:
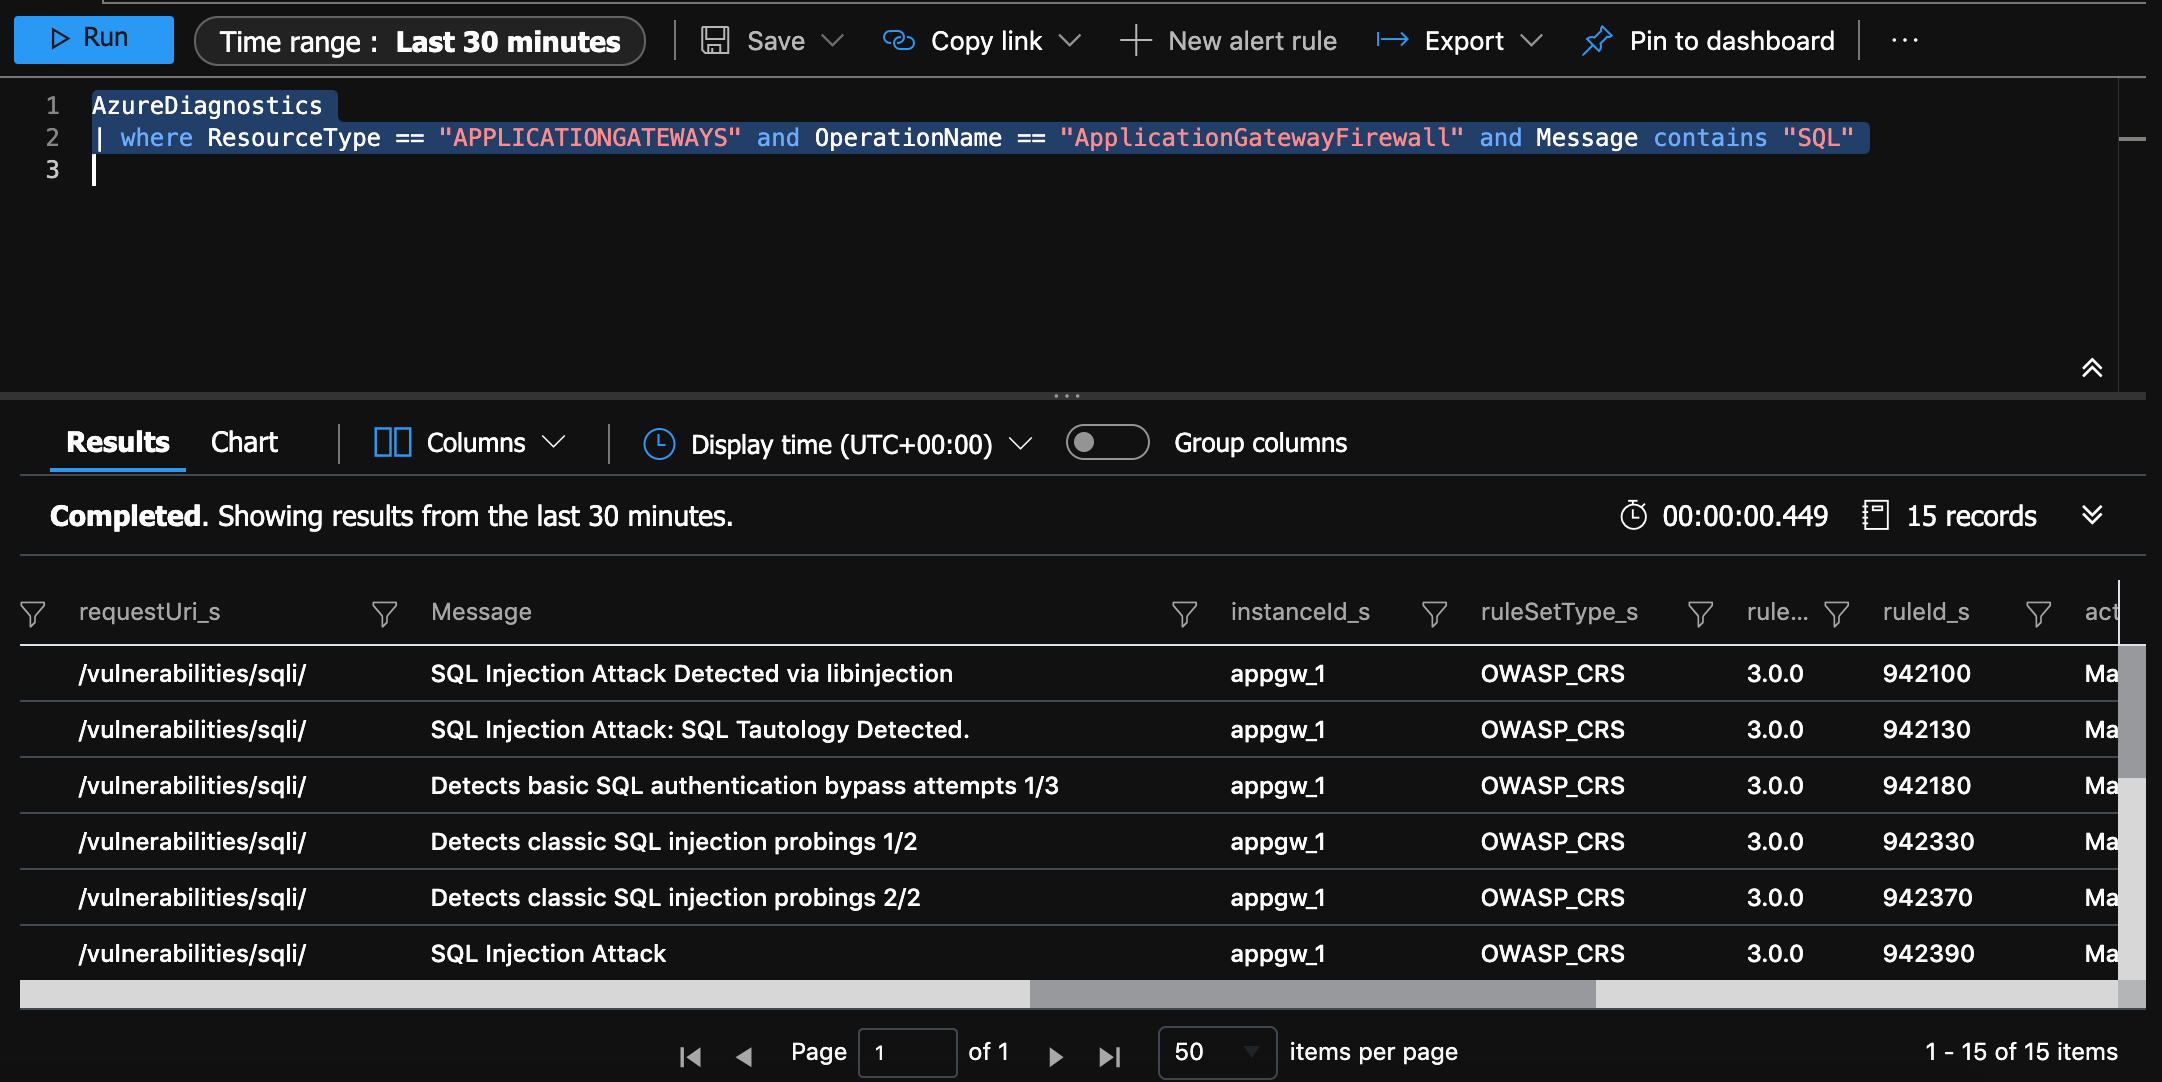
AzureDiagnostics
| where ResourceType == "APPLICATIONGATEWAYS" and OperationName == "ApplicationGatewayFirewall" and Message contains "SQL"
You can see the SQL Injection was detected!
/End
That was another long post but we got there in the end, there's a lot to unpack there from setting up a docker container to disabling a WAF rule. As a reader there's a couple of area's you can follow up with, if you're not familiar with the basic exploits, set the WAF to detection mode to view DVWA get compromised, you will also want to spend some time looking at the logs and preparing better searches as my examples are very specific to this post.