This post is an extension to this excellent article except with a subtle difference, I'm not interested in hacking the WP core, I'm writing a plug-in :)
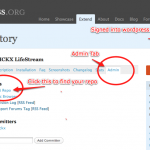
I'm going to assume that you've requested access to WordPress.org's SVN repository, and you've found the admin panel and want to get your Xcode goodness hooked up to the WP SVN.
To get started create a new Empty Xcode project.
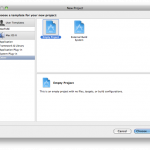
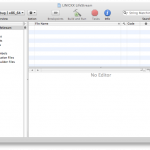 Xcode project chooser Empty Project
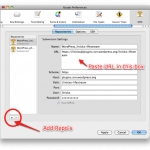
From the menu bar select SCM then Configure Repositories, the window
select the + to add a new repo, the username & password pair are your
wordpress.org credentials, you can find the URL to your SVN repo on the
wordpress.org site.
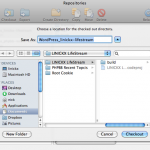
Next from the menu bar select SCM then Repositories, highlight the
repo you've just created and choose checkout; you're going to be asked
for a folder to "save" the contents of the repo to, I chose inside my
Xcode project folder.
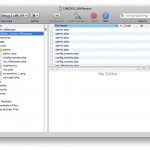
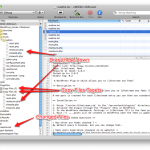
You now need to add those "checked out" files to you project, in the tree on the left, right/control click the blue project icon at the top and select add existing files, accept the defaults and the repo should be imported.
These files now in the project need to be associated with the repo, this is done by highlighting the blue project icon and clicking the "Info" button, then click "Configure Roots & SCM"; click the + button and choose your repo folder (again)... the dropdown on the right should automatically select the correct SCM.
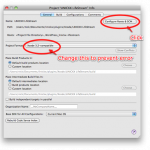
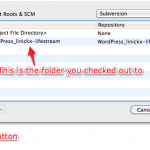 Project Properties Project Roots
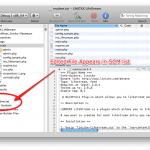
If you now change a file / add / delete / etc it will appear under the SCM tree, you can right/control click and commit to the repo.... job done :)
Very quickly you're going to find out that you want to test your changes prior to commiting them, to do this you may want to copy your files upto a webserver.... I get Xcode to do that for me, using macfuse to mount my webroot via ssh but for this example I'll create a directory on the desktop ... you also need to create any subdirectories you may need.. I have to create "admin".
To copy the files we're use an Xcode target, from the menu bar choose
Project then New Target then Copy Files Target, I called my new
target CopyFile. Using the info button change the absolute path of the
copy - e.g. /Users/Nick/Desktop/LL ... now here I ran into a problem
(suggestions welcome)... next I created extra copy build phases for
each subdirectory. Control/right click your Target ( i.e CopyFiles) then
choose Add, New Build Phase, New Copy Files Build Phase... I then set
the absolute path of this "sub target" to /Users/nick/Desktop/LL/admin/
to represent my admin subdirectory.
Finally DRAG down the files into their correct target, all being well and a fair wind clicking "BUILD" will cause your files to be copied into your directory. You can now make changes, click build to test, and then commit them to subversion when you're happy :)
The red sweater post that inspires this now talks about creating a RUN shortcut to automatically open a web browser for testing, however mine didn't work... I got this error "The program being debugged is not being run"... suggestions to fix welcome!

